How To Blend Leafy Greens Without Excess Foam: 10 Fixes Involving Speed, Timing And Ingredient Order
Tired of frothy green smoothies? These 10 practical fixes show how speed, timing and ingredient order can reduce excess foam for a smoother, fresher blend.
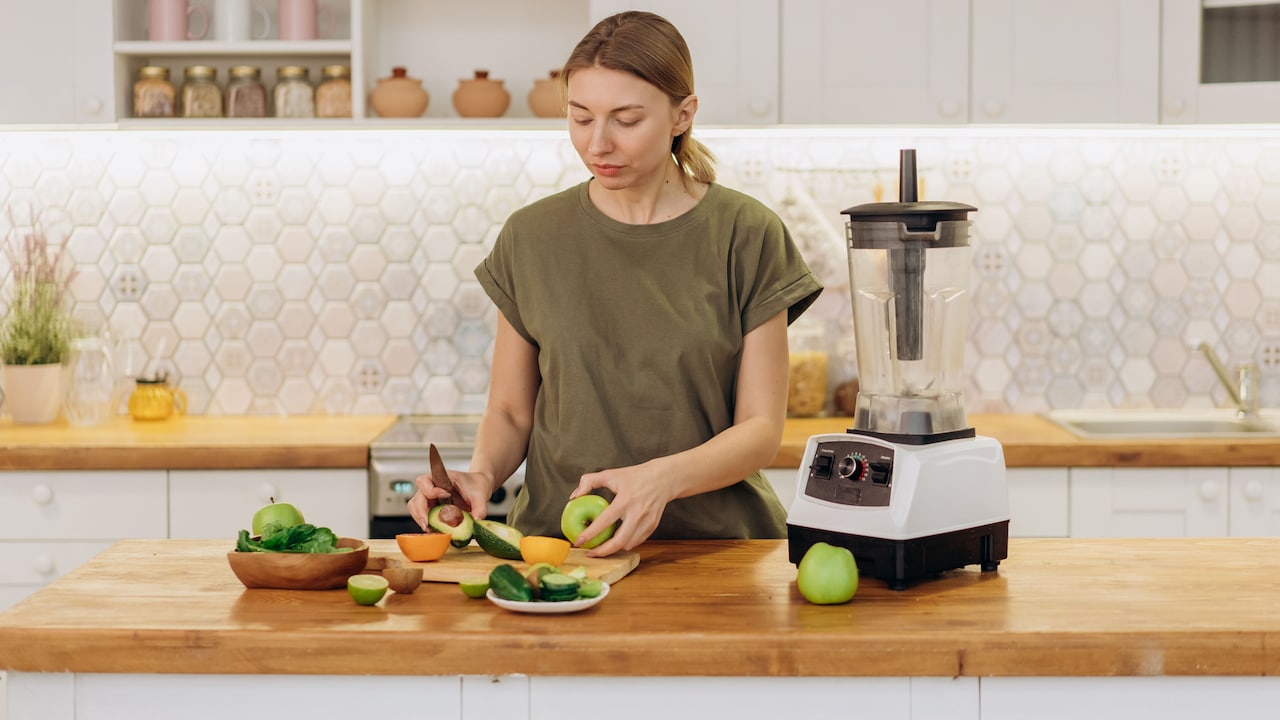
How To Blend Leafy Greens Without Foam: 10 Simple Fixes
Leafy greens can turn an ordinary drink into a nourishing breakfast, a quick post-workout refresher or a clever way to use the spinach wilting quietly in the fridge. Yet there is one small problem that often spoils the experience: foam. A thick layer of bubbles can make a smoothie look less appealing. It may also create an uneven texture, with froth at the top and liquid underneath. The flavour remains mostly unchanged, but the drink can feel oddly airy, almost as though someone has blended a salad with a cappuccino. Foam forms when the blender pulls air into the liquid. Leafy greens, especially spinach, kale, coriander and mint, contain fibres and natural compounds that help hold those air bubbles in place. High speeds, long blending times and poor ingredient order can make the problem worse. Fortunately, there is no need for expensive equipment or complicated tricks. The solution lies in controlling how ingredients enter the jar, how quickly the blades move and how long the mixture blends. A little patience also helps. The following ten fixes can turn a frothy green drink into a smoother, silkier one.
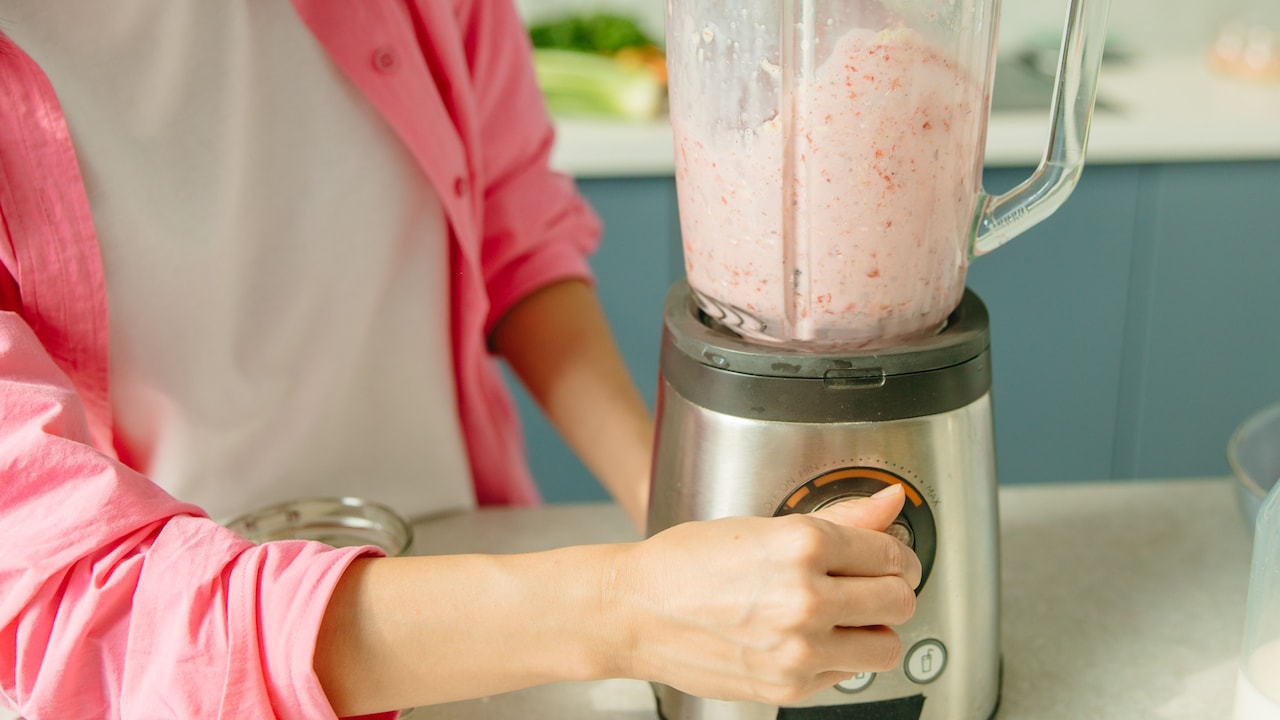
How To Blend Leafy Greens Without Foam: 10 Simple Fixes; Photo Credit: Pexels
Simple Ways To Blend Smoother, Foam-Free Greens
1. Start With Liquid At The Bottom
Ingredient order can decide whether a green smoothie turns silky or foamy. Liquid should almost always enter the blender jar first. Water, coconut water, milk, buttermilk or unsweetened yoghurt thinned with water creates a smooth path for the blades.
When leafy greens sit directly around the blades, they may chop unevenly and trap pockets of air. The blender then works harder, pulling more oxygen into the mixture. Liquid at the base allows the blades to move freely and creates a steady whirlpool.
Use enough liquid to cover the lower section of the blades. There is no need to drown the ingredients. Around 150 to 250 ml often works well for a regular household blender, depending on the quantity of fruit and greens.
A common morning mistake involves pushing spinach into the jar first, followed by banana and milk. The leaves cling to the sides while the motor groans dramatically, like a scooter trying to climb a steep flyover. Reverse the order. Add the milk first, then soft fruit, greens and heavier ingredients. This small adjustment reduces air pockets and gives the blender a calmer start.
Also Read: Mixer Grinder Under ₹2000 To Suit Your Daily Needs; Check Out These Top 5 Options
2. Place Soft Ingredients Before Leafy Greens
After the liquid, add soft ingredients such as banana, ripe papaya, mango, soaked dates or avocado. These foods help create a thicker base before the leaves begin to break down.
Soft fruit acts almost like a cushion. It allows the greens to move smoothly towards the blades instead of fluttering around the jar. Fluttering leaves trap air quickly, especially when the blender runs at high speed. A soft base keeps the mixture heavier and more stable.
This method works particularly well with spinach and tender amaranth leaves. It also improves the texture of smoothies made with stronger greens such as kale. The fruit provides body, while the liquid helps everything circulate evenly.
Avoid placing dry powders directly above the liquid before adding soft fruit. Protein powder, cocoa, seeds or oats can form sticky clumps near the blade assembly. These clumps interrupt circulation and encourage longer blending, which creates more foam.
Think of the blender jar as a packed local train. Everyone needs to enter in the right order, or the whole system slows down. Liquid goes first, soft ingredients follow, and leafy greens come next. When the base is organised, the blades do not need to fight for space.
3. Add Leafy Greens In Small Batches
Stuffing an entire bunch of spinach into the blender may feel efficient, but it often produces a foamy drink. Large amounts of leaves create gaps between layers. Those gaps fill with air, which becomes trapped as soon as the blades begin moving.
Add leafy greens gradually instead. Place one loose handful into the jar, blend briefly, then add the next. This approach takes only a little longer and gives the leaves time to collapse into the liquid.
Packing greens too tightly can also block the blender's natural circulation. The lower leaves turn into a thick paste while the upper ones remain almost untouched. The machine then needs to run longer, increasing both heat and foam.
Small batches work especially well when blending coriander, mint or methi leaves, which can float stubbornly above the liquid. Press them down gently with a spoon before fitting the lid. Never push ingredients while the motor is running.
For a household preparing several glasses, blend the greens with part of the liquid first, but only for a few seconds. Then add the remaining ingredients. The aim is not to whip the leaves into submission. It is to help them settle. Gentle handling keeps the drink smooth and prevents the top of the jar from looking like a bubble bath.
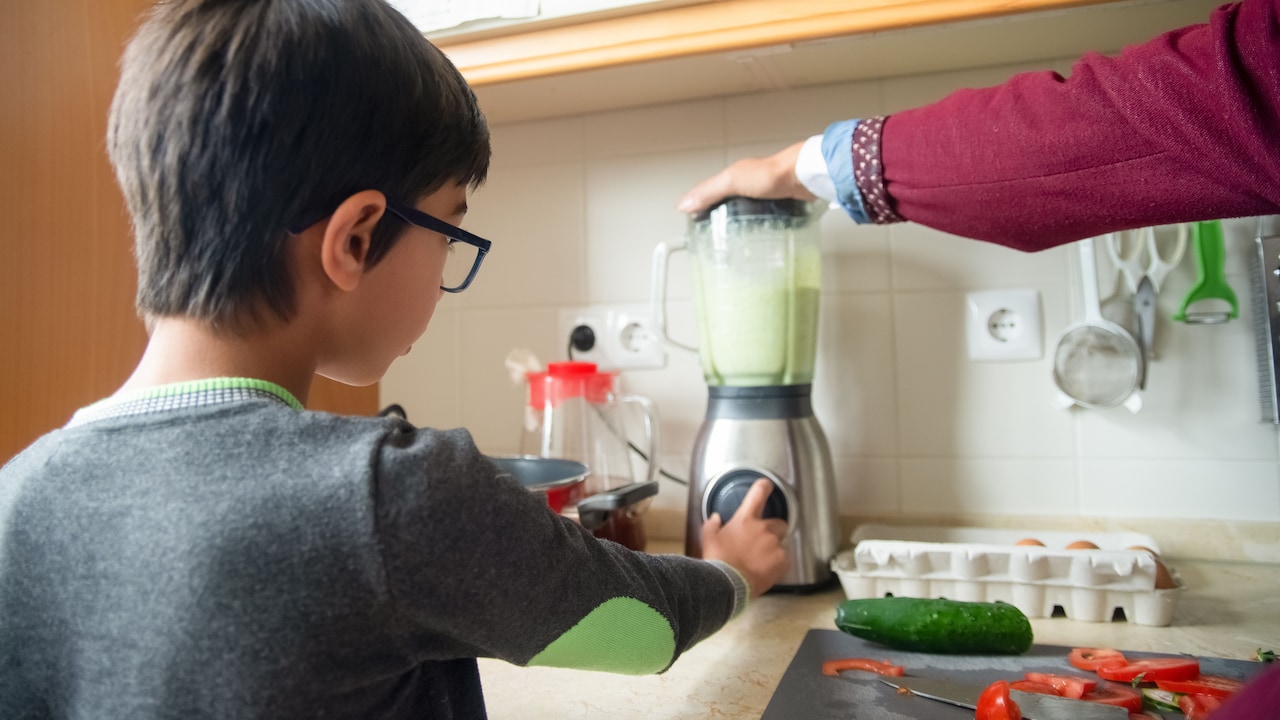
How To Blend Leafy Greens Without Foam: 10 Simple Fixes; Photo Credit: Pexels
4. Begin At A Low Speed
High speed seems like the quickest route to a smooth drink, but it can also pull large amounts of air into the mixture. Starting slowly gives the ingredients time to settle around the blades.
Run the blender at its lowest setting for about five to ten seconds. This helps the liquid, fruit and greens combine without creating a violent vortex. Once the mixture begins moving evenly, increase the speed gradually.
Many people switch the blender straight to maximum power, particularly during a rushed morning. The result may look impressive inside the jar, with a dramatic green tornado spinning towards the lid. Unfortunately, that tornado is also dragging air into the drink.
A slow start is especially useful with lightweight leaves. Spinach, mint and coriander tend to rise quickly and circle above the blades. Low speed draws them down more steadily.
Blenders with preset smoothie functions often increase speed automatically. These programmes can work well, but they may blend longer than necessary. Manual control offers better results when foam is a regular problem.
The motor should sound steady rather than strained. If ingredients stop moving, switch the blender off and stir them gently. Do not simply increase the speed. More power can create more bubbles without fixing poor circulation. A calm beginning usually leads to a calmer finish.
5. Use Short Blending Pulses
Continuous blending introduces more air than most leafy drinks need. Short pulses offer greater control and reduce the chance of over-processing the mixture.
Pulse the blender for three to five seconds at a time. Pause briefly between each burst. These small breaks allow bubbles to rise and ingredients to settle back towards the blades.
This technique is helpful when using tender greens, ripe fruit and yoghurt. Such ingredients break down quickly. A full minute at high speed may turn them into an airy mousse rather than a drink.
Check the texture after every few pulses. Once no visible leaf pieces remain, stop blending. A smoothie does not become healthier because the motor runs for another thirty seconds. It simply becomes warmer and frothier.
Short pulses also protect delicate flavours. Mint can turn slightly bitter when heavily processed. Coriander may lose its fresh aroma. Even spinach can develop a stronger grassy note after excessive blending.
There is something satisfying about pressing the pulse button with purpose rather than letting the machine roar endlessly. It feels less like operating industrial equipment and more like cooking. The process becomes easier to judge by sight and sound. When the mixture moves smoothly, and the leaves disappear, the job is done. Silence is often the final ingredient.
6. Avoid Overfilling The Blender Jar
A crowded blender traps air and prevents smooth circulation. Ingredients need enough space to move down towards the blades and back up through the liquid.
Keep the jar no more than two-thirds full, particularly when blending leafy greens. Foam expands during blending, so a mixture that begins near the lid may rise quickly. Apart from creating extra bubbles, overfilling can lead to messy leaks around the lid.
Large family portions are better prepared in two batches. It may seem slower, but each batch will blend more evenly and often finish faster. A packed jar usually needs repeated stops, stirring and extra liquid.
The shape of the jar also matters. Narrow jars may require smaller quantities because greens can gather near the top. Wide jars allow better movement but can still become overloaded.
Consider a Sunday breakfast where four glasses need to be prepared at once. Filling the blender with milk, bananas, apples, spinach, chia seeds and ice until the lid barely closes may feel ambitious. It may also produce enough foam to resemble sea spray. Dividing the ingredients into two rounds gives a smoother texture and saves the kitchen counter from green splashes.
Leave breathing room in the jar, but do not confuse breathing room with added air. Space supports movement. Controlled movement reduces foam.
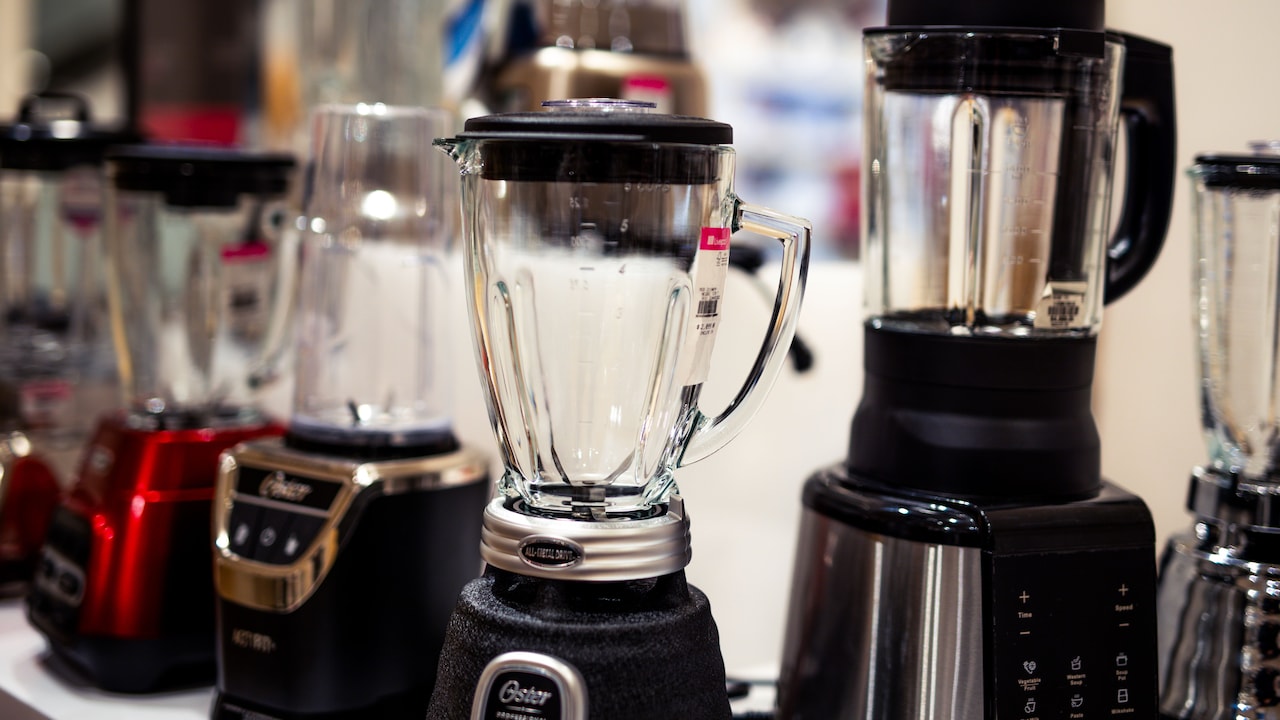
How To Blend Leafy Greens Without Foam: 10 Simple Fixes; Photo Credit: Pexels
7. Add Ice Near The End
Ice can make a green smoothie refreshing, particularly during hot weather, but adding it too early may increase blending time. Hard cubes interrupt the movement of softer ingredients and force the motor to work harder.
Blend the liquid, fruit and greens first. Once the mixture looks smooth, add a few ice cubes and pulse briefly. This chills the drink without repeatedly whipping air into it.
Crushed ice works better than large cubes in lower-powered blenders. It breaks down quickly and reduces strain on the blades. Frozen fruit can also provide chill without needing much ice. A few frozen banana slices or pieces of pineapple add body while keeping the drink cool.
Too much ice may thin the flavour as it melts. It can also produce a grainy texture. Two or three cubes are usually enough for one or two servings.
When ice goes into the jar at the beginning, people often keep blending until every rattling sound disappears. By then, the greens may have been processed far longer than necessary. The drink becomes pale, airy and slightly warm around the blade area, despite all that ice.
Treat ice as a finishing ingredient, much like a final squeeze of lime. Add it once the main texture is ready. A few quick pulses should do the job without turning the smoothie into green foam topped with frost.
8. Keep The Blending Time Brief
Leafy greens break down faster than they appear to. A powerful blender may need only twenty to thirty seconds to produce a smooth drink. Even a modest mixer-grinder can finish the job quickly when ingredients are layered correctly.
Long blending times create heat and pull more air into the mixture. Both effects can damage the fresh character of the drink. The colour may become duller, and the texture may feel lighter than expected.
Watch the contents rather than the clock alone. The drink is ready when the mixture circulates evenly and no large leaf pieces remain. Tiny green specks are normal and often preferable to an over-blended, frothy texture.
Pause halfway if necessary. Scrape down leaves stuck to the sides, then blend again for a few seconds. This works better than leaving the motor running while waiting for those stubborn pieces to fall.
A common belief suggests that longer blending creates greater smoothness. That holds true only up to a point. After the fibres break down, further blending mostly adds air. It is similar to whisking curd: a few turns make it creamy, but endless beating changes the texture completely.
Set a simple limit. Blend briefly, inspect, and stop as soon as the drink looks even. Efficiency tastes better than enthusiasm when enthusiasm comes with a thick foam cap.
9. Add Thickening Ingredients Before The Final Blend
A slightly thicker smoothie holds ingredients together and reduces rapid splashing inside the jar. Banana, avocado, soaked oats, chia gel or thick yoghurt can help create this stable texture.
Add these ingredients before the final short blend. They increase body without requiring extra processing. A thicker base slows the movement of air bubbles and prevents them from multiplying as quickly.
However, balance matters. Too much chia, oats or nut butter can make the drink heavy and difficult to circulate. The blender may then need more liquid and longer running time, which defeats the purpose.
Soaked ingredients work particularly well. Oats softened in water for fifteen minutes blend faster than dry oats. Chia seeds mixed with water beforehand create a smooth gel instead of floating around the jar. Dates should also be soaked when they feel firm.
Yoghurt deserves special attention. Thick yoghurt can reduce foam, but very thin or heavily churned yoghurt may create more froth. Add it gently and blend only until combined.
The goal is a drink that pours easily but does not behave like coloured water. A little body brings the ingredients together. It also makes the smoothie feel more satisfying, whether served in a steel tumbler before work or poured into a glass beside a plate of poha.
10. Let The Smoothie Rest Before Pouring
Even a carefully blended smoothie may contain a thin layer of bubbles. Resting it for one or two minutes allows much of that foam to settle naturally.
Switch off the blender, remove the lid and leave the jar undisturbed. Air bubbles will rise towards the surface while the heavier liquid settles below. Tap the side of the jar gently to encourage trapped bubbles to escape.
For stubborn foam, stir the drink slowly with a long spoon. Avoid vigorous mixing, which adds more air. A small squeeze of lime can sometimes help the surface settle while also brightening the flavour.
Pour the smoothie down the side of the glass rather than directly into the centre. A slow, angled pour causes less splashing and keeps the remaining foam near the top of the jar. The final spoonful can be left behind when the froth is particularly thick.
This resting step is often ignored because smoothies usually belong to rushed mornings. Yet two quiet minutes can make a noticeable difference. Use that time to rinse the cutting board, close the milk packet properly or locate the missing tiffin lid.
Not every kitchen problem needs more speed. Sometimes the best fix is simply to pause. The blender has done its work; the bubbles now need a moment to calm down.
Products Related To This Article
1. Butterfly Smart 750 Watts Mixer Grinder with 4 Jars
2. Longway Super Pro Juicer Mixer Grinder
3. Lifelong LLMG23 Power Pro 500-Watt Mixer Grinder with 3 Jars
4. Wonderchef Nutri-blend 500W Mixer Grinder, 22000 RPM Motor
5. NutriPro Juicer Mixer Grinder - Smoothie Maker - 500 Watts
6. Preethi Zodiac Glitter 750 Watts Mixer Grinder
7. HydroGrind Powerful 750 W Juicer Mixer Grinder For Kitchen 4 Jars
A smooth green drink depends less on brute power and more on thoughtful technique. Excess foam usually comes from trapped air, unnecessary speed, long blending times or an awkward ingredient order.
Begin with liquid, follow with soft fruit and add greens gradually. Start slowly, use short pulses and stop as soon as the mixture becomes even. Keep the jar comfortably filled rather than crowded. Add ice near the end, use thickening ingredients wisely and allow the finished drink to rest before pouring.
These changes do not demand a premium blender or a cupboard full of special products. They simply make better use of the equipment already available at home.
Leafy greens may still bring the occasional surprise. A coriander stem might escape the blades, or one determined spinach leaf may cling to the lid. That is part of the charm. With the right order and a lighter touch, however, the final drink will look fresher, pour more smoothly and taste far more inviting.
The aim is not a perfectly bubble-free smoothie. A few bubbles are harmless. The aim is to prevent the froth from taking over the glass. After all, breakfast should feel nourishing, not look as though it needs to be shaved.
(Disclaimer: This article may include references to or features of products and services made available through affiliate marketing campaigns. NDTV Convergence Limited (“NDTV”) strives to maintain editorial independence while participating in such campaigns. NDTV does not assume responsibility for the performance or claims of any featured products or services.)