10 Reasons Projector Images Look Sharp In The Centre But Blurry At The Corners
A projector can look perfectly focused in the middle while text and details turn fuzzy near the edges. From lens limitations and keystone correction to screen alignment, here are 10 reasons corner blur happens and what can help fix it.
Easy ways to improve projector image quality
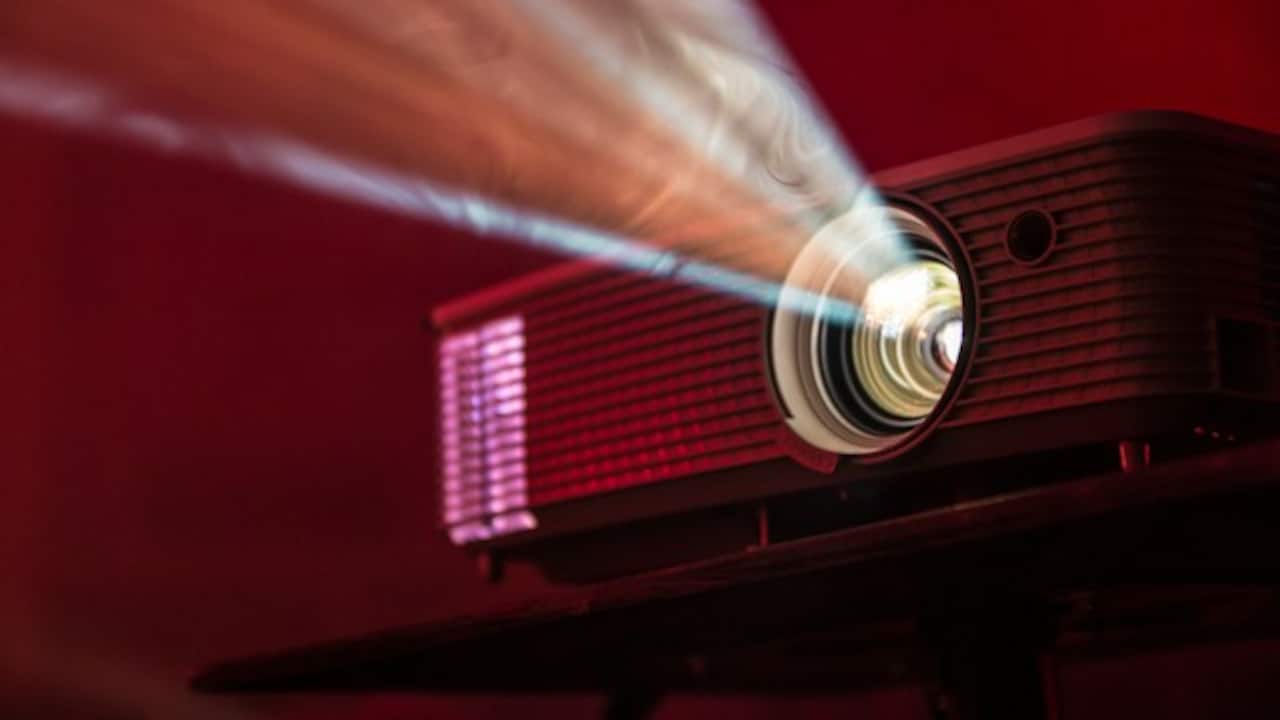
You adjust the focus wheel until the movie title looks wonderfully crisp. The actor's face in the middle of the screen has sharp eyelashes, the subtitles look clean, and everything seems sorted. Then your eyes wander towards the corner. Suddenly, menu text looks fuzzy, icons have soft edges, and the picture seems as though someone lightly rubbed petroleum jelly over one section of the screen. It's a surprisingly common projector problem. Centre-sharp, corner-blurry images can affect inexpensive portable projectors, home entertainment models and even more capable units when the setup isn't quite right. Sometimes the projector itself creates the softness. In other cases, the culprit sits outside the machine: the projection angle, screen surface or digital correction settings.
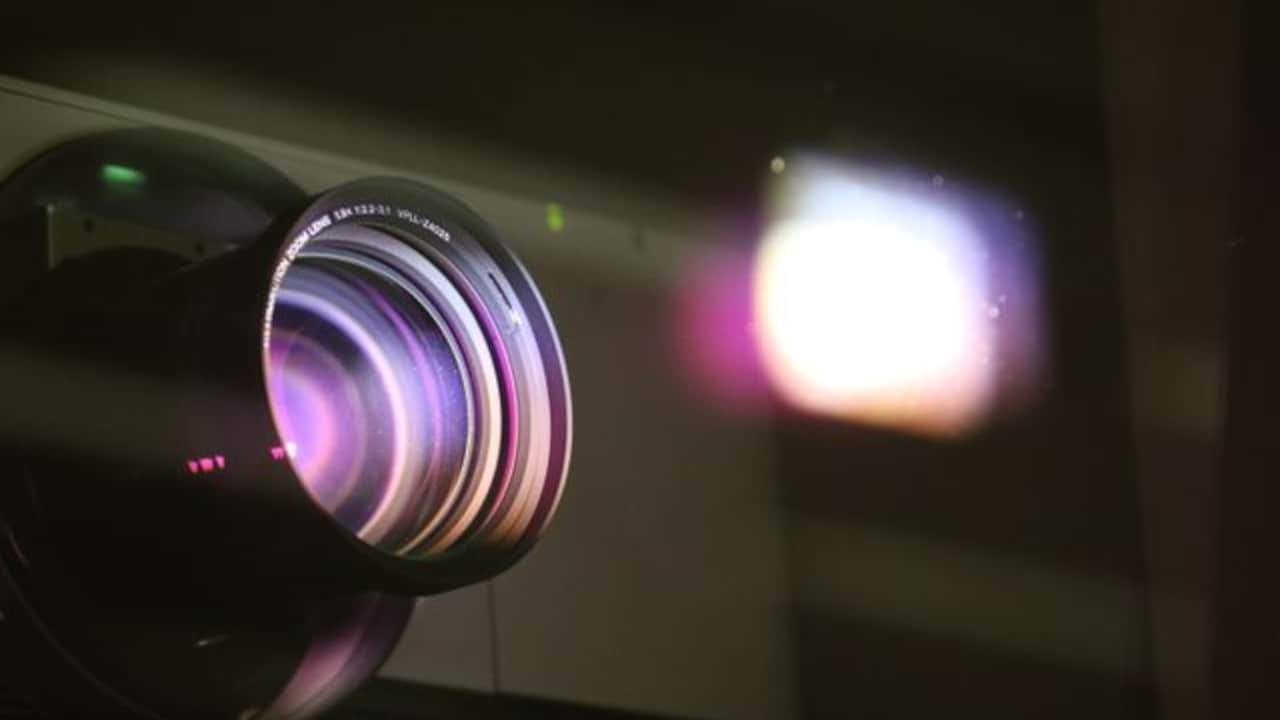
What affects projector images to look blurry at the corners
Photo Credit: Pexels
The tricky part is that turning the focus wheel again often makes matters worse. The corner improves, but the centre loses its crispness.
Also Read: Buying A Projector? These 8 Features Will Make Or Break Your Viewing Experience
So, before repeatedly adjusting focus or assuming the projector has developed a fault, it helps to understand why different parts of the image may not fall into focus at the same time.
Why Projector Sharpness Can Change Across The Same Screen
1. The Lens Cannot Keep The Entire Image Equally Sharp
Projector lenses aren't optically perfect. Even when the centre looks impressively crisp, sharpness can gradually decrease as the image moves towards the outer edges. This behaviour becomes more noticeable with simpler lens systems commonly used in compact and budget projectors.
Think of the lens as trying to spread one detailed image across a much larger rectangle. The centre sits close to the lens's optical sweet spot, where it generally controls light more accurately. Towards the edges, light travels through different portions of the lens and at steeper angles. Small optical imperfections become easier to see.
Fine text usually exposes the problem first. A film may still look perfectly watchable because moving pictures disguise minor softness. Open a laptop desktop, spreadsheet or streaming menu, though, and blurry corner lettering suddenly becomes obvious.
Some degree of edge softness can therefore be normal, particularly on affordable models. However, large differences between the centre and corners may point towards another setup issue rather than lens quality alone.
2. The Projector Isn't Sitting Squarely In Front Of The Screen
Projector placement matters far more than many people expect. If the machine sits noticeably above, below or beside the centre of the screen, different areas of the projected image travel different distances before reaching the surface.
That creates a focus problem.
Imagine pointing the projector diagonally towards a wall from the side of a sofa. One side of the projected rectangle sits physically closer to the lens than the other. Focusing on the middle cannot magically make every point equally distant.
This often produces a familiar pattern: one portion looks wonderfully sharp while an opposite edge or corner appears noticeably softer.
Whenever possible, position the projector so its lens faces the screen directly rather than shooting at it from an aggressive sideways angle. Horizontal alignment deserves particular attention with portable projectors, since they often get placed wherever a table, shelf or stack of books happens to be available.
A slightly inconvenient projector position can sometimes produce a far better picture than several minutes spent wrestling with digital correction controls.
3. Heavy Keystone Correction Is Reducing Detail
Keystone correction feels like magic the first time you use it. Place the projector at an awkward angle, press a button and a crooked trapezoid becomes a neat rectangle.
Unfortunately, pixels have to pay for that convenience.
Digital keystone correction reshapes the image electronically before displaying it. Instead of using the projector's full rectangular imaging area naturally, the system compresses, rescales or remaps portions of the picture. Fine detail can suffer during that processing.
The effect may become particularly noticeable around text, interface elements and the outer edges of the image.
Automatic keystone correction can make this easy to overlook. A projector may quietly apply substantial correction every time it starts, leaving users wondering why the picture never looks quite as crisp as showroom photographs suggest.
Try physically aligning the projector first and reducing keystone correction afterwards. Perfect placement isn't always practical in a bedroom or compact living space, but even reducing the correction substantially can improve apparent sharpness. Digital geometry tools work best as finishing touches, not substitutes for positioning.
4. The Screen Or Wall Isn't Completely Flat
Sometimes the projector gets blamed for a surface problem.
A painted wall might look flat from across the room while containing subtle bulges, dips or uneven plaster. Fabric screens can develop ripples too, especially inexpensive foldable models that aren't stretched tightly.
Projectors focus light onto a particular plane. When parts of the viewing surface sit slightly closer to or farther away from the lens, those sections may fall outside the sharpest focus zone.
The centre could therefore look beautifully detailed while a curved corner appears soft.
There is a simple way to investigate. Project an image containing small text or a grid, then inspect the surface from the side. Ripples and unevenness become easier to spot when light travels across them.
Temporary projector setups face this issue frequently. A white bedsheet may create a huge screen for movie night, but folds and sagging fabric aren't ideal for judging optical sharpness. Stretching the material more evenly, moving to a flatter wall or using a tensioned screen can produce a surprisingly noticeable improvement.
5. The Projector's Focus Plane And Screen Plane Don't Match
A projector doesn't simply focus at one distance like a torch beam. Its optical system creates a plane where the projected image appears sharpest. Ideally, the screen sits parallel to that plane.
Tilt either device too much and the relationship changes.
Suppose the projector sits low on a coffee table while pointing upwards towards a high section of wall. The top of the projected image may sit farther from the lens than the bottom. Focusing halfway between them gives a compromise rather than uniform sharpness.
This explains why adjusting the focus can feel frustrating. Turn one way and the centre becomes razor sharp while the top corners soften. Turn slightly back and the corners improve while central text loses definition.
Physical alignment remains the best remedy. Keep the projector's optical axis reasonably perpendicular to the viewing surface wherever the room allows it.
A small tilt usually causes little trouble. Extreme angles create much larger differences, however, and software correction can't fully restore optical focus that never existed in the first place.
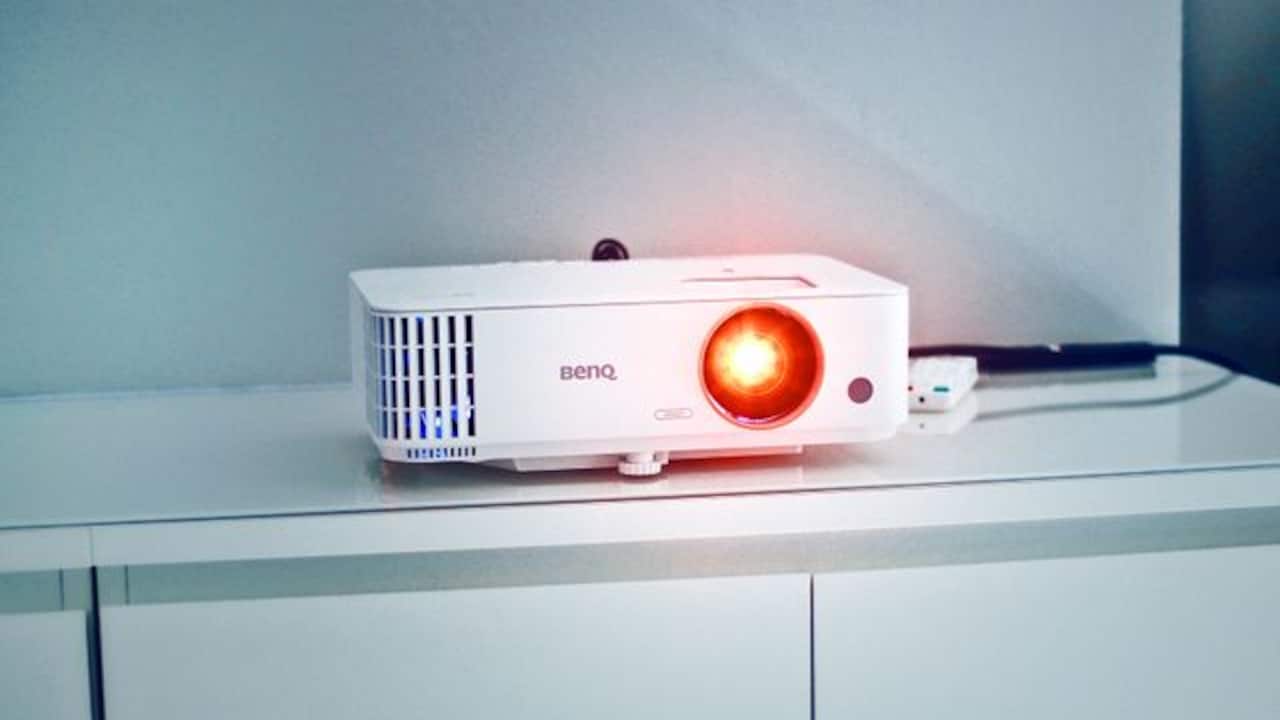
Projector focus plane and screen plane not matching can also cause this issue; Photo Credit: Pexels
6. The Image Has Been Projected Too Large
Projector specifications often advertise enormous maximum image sizes. Seeing numbers such as 150 inches or 200 inches naturally makes a blank wall feel like an invitation.
Maximum possible size and optimum picture size aren't necessarily the same thing.
As the projector moves farther from the screen and creates a larger image, every pixel and optical imperfection gets enlarged. Softness that looked insignificant at 80 inches may become painfully visible at 140 inches.
The lens also has to maintain acceptable focus across a much larger area.
Brightness complicates matters further. A projector spreading the same light output across a giant image produces a dimmer picture. Reduced contrast can make fine details look softer even when focus hasn't dramatically changed.
Before assuming something is wrong with the lens, shrink the projected image and test again. If the corners look much cleaner at a moderate size, the projector may simply perform better within a smaller range.
A giant screen sounds exciting, but a slightly smaller, brighter and sharper picture usually makes films, games and sports far more enjoyable.
7. The Lens May Have Uneven Focus Or Optical Decentring
Not every blurry corner comes from setup. Occasionally, the projector itself has an optical alignment problem.
Inside the lens assembly, multiple elements need to sit precisely in relation to one another. If something is slightly misaligned, the projector can produce uneven focus across the frame. One corner may look consistently worse than the others regardless of placement.
A useful clue is asymmetry.
Normal lens softness often appears gradually around several edges. A manufacturing or alignment issue may create one unusually blurry corner while the opposite corner remains comparatively sharp.
Test with the projector positioned directly in front of a flat surface. Disable or minimise keystone correction and display a grid or text-heavy page. Focus carefully on the centre.
If one particular area stays dramatically softer after proper alignment, the projector may need inspection, servicing or replacement.
With a newly purchased unit, don't spend weeks rearranging furniture to compensate for severe optical inconsistency. A badly aligned lens won't become symmetrical simply because the projector sits on a better table.
8. The Focus Mechanism Is Too Coarse For Precise Adjustment
A tiny movement can make a surprisingly big difference to projector focus.
Some models use large manual focus rings that allow fine adjustment. Others rely on small wheels, electronic buttons or motorised autofocus systems that move through relatively broad focus steps.
That can leave the sharpest position frustratingly between two available settings.
Turn slightly one way and the centre looks perfect but the corners remain soft. Move back and the corners improve while text in the middle loses definition.
Autofocus isn't infallible either. It may analyse one section of the projected image or choose a focus position that looks acceptable overall rather than optimising tiny text around every edge.
When manual control is available, use a screen filled with fine details rather than a film scene. Small text works particularly well. Make tiny adjustments and wait a moment between changes.
Also allow the projector to warm up before making obsessive corrections. Some models shift focus slightly as internal components heat during the first few minutes of operation.
9. Digital Scaling Is Making Edge Softness Easier To Notice
Not every softness problem originates in the physical lens. Sometimes image processing contributes.
Projectors have a native display resolution. When the incoming content doesn't match it, the device has to resize the image. A computer might send 4K output to a Full HD projector, for instance, requiring the projector to scale everything down.
Good processing handles this reasonably well. Simpler scaling systems can soften fine text and graphical elements.
Add digital zoom, keystone adjustment and unusual aspect-ratio correction, and the projector may perform several transformations before the picture reaches the wall.
Each stage can shave away a little clarity.
Computer desktops reveal this more readily than films because straight lines and tiny fonts make softness obvious.
For cleaner results, try sending a resolution that matches the projector's native panel resolution. Reset unnecessary digital zoom and avoid stacking multiple correction features unless required.
This won't repair genuinely poor corner optics, but it can prevent processing from exaggerating a mild optical weakness that might otherwise go unnoticed.
10. Dust, Smudges Or Internal Contamination May Be Affecting The Image
Before investigating complicated optical theories, inspect the simplest thing: the lens.
Fingerprints, oily marks and dust can scatter light and reduce contrast. Instead of creating dramatic blur everywhere, contamination may affect particular sections depending on where it sits.
Use a clean microfibre cloth intended for optical surfaces and gently clean the external lens according to the manufacturer's guidance. Avoid household glass cleaners unless the manual specifically permits them, since projector lenses can have coatings that require careful treatment.
Internal dust presents a different problem. Some projectors can develop dust spots or hazy patches inside the optical path. These usually look different from ordinary corner softness, but they can still reduce local clarity.
Don't dismantle a projector casually to investigate. Compact models often contain delicate optical components, and opening them can introduce even more dust or affect warranty coverage.
If cleaning the outer lens changes nothing and one section remains unusually hazy despite correct alignment, professional inspection may make more sense than endless focus adjustments.
Products Related To This Article
1. WZATCO Yuva Go Pro Fully Automatic Native 1080P Projector 4k Ultra HD
2. E GATE Atom 3X Projector 4k Ultra HD Full HD 1080p Native Automatic Home Projector for Room
3. NISOO Andriod 5G WiFi Projector Home 4K Support 1080P Smartphone
4. XGIMI Vibe One 1080p Full HD Projector, Official Netflix & Google TV
5. Lifelong Electronics ROAR Projector with 2 Mics | Booming 20W Speakers
6. [Netflix Official License] Crossbeats Lumex Flix Projector 4k Ultra HD
7. Lumio Arc 5 Portable Home Projector | Official Google TV with Netflix
A sharp centre with blurry corners doesn't automatically mean a projector is faulty. Lens design, screen angle, keystone correction, oversized projection and even a slightly uneven wall can all produce the effect.
Start with physical placement. Keep the projector square to a flat screen, reduce digital correction and test at a sensible image size. Then examine focus, resolution and lens cleanliness. If one corner remains dramatically softer after everything else checks out, the optics themselves may deserve attention. Sometimes the best route to a sharper picture isn't another turn of the focus wheel but a better look at the entire setup.
(Disclaimer: This article may include references to or features of products and services made available through affiliate marketing campaigns. NDTV Convergence Limited (“NDTV”) strives to maintain editorial independence while participating in such campaigns. NDTV does not assume responsibility for the performance or claims of any featured products or services.)