How To Stop Drilling Into The Wrong Spot When Hanging Shelves And Frames
Avoid crooked shelves, misplaced frames and messy wall repairs. Learn how to measure, mark and drill accurately, choose the right fixings and get every installation right the first time.
How To Drill In The Right Spot When Hanging Shelves And Frames
Hanging a frame or shelf looks deceptively easy. Mark the wall, pick up the drill, and make a hole. What could go wrong? Quite a lot, as many homeowners discover when the frame ends up crooked, the shelf sits too low, or the drill meets a hidden wire. One wrong mark can leave a permanent reminder on a freshly painted wall. Worse, several “trial holes” can make the surface look as though a determined woodpecker paid a visit. The good news is that accurate drilling does not require professional carpentry skills. It requires patience, sensible measuring and a clear idea of what sits behind the paint. A few basic tools can prevent most common mistakes. Even simple home equipment such as masking tape, paper templates and a spirit level can save time, money and frustration. The following ten steps explain how to choose the right position, find safe drilling points and hang shelves or frames neatly the first time.

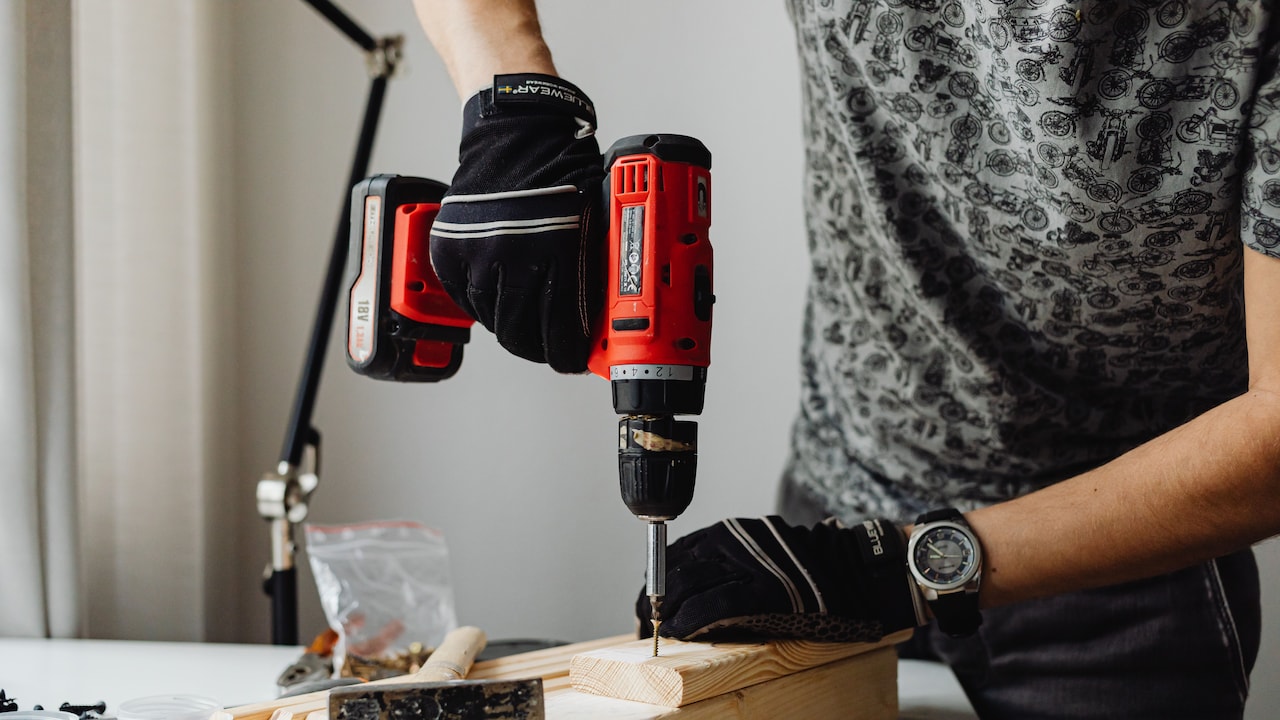
How To Drill In The Right Spot When Hanging Shelves And Frames; Photo Credit: Pexels
Measure Twice, Drill Once: Ten Ways To Get It Right
Decide The Exact Position Before Reaching For The Drill
The most common drilling mistake happens before the drill even leaves its box. A person holds a shelf against the wall, decides the position looks “about right,” and marks the spot in a hurry. Once the shelf goes up, it suddenly appears too high, too low or oddly disconnected from the furniture below.
Start by considering how the object will relate to the room. A picture above a sofa should feel visually connected to it rather than floating near the ceiling. A shelf beside a study table should remain easy to reach without forcing anyone to stretch like a contestant in a game show.
Use removable masking tape to outline the shelf or frame on the wall. Step back and view it from different corners of the room. Sit on the sofa, stand near the doorway, and check how the position feels in natural light.
Live with the taped outline for a few minutes. That pause often reveals problems that hurried measuring misses. Once the placement feels balanced and practical, mark the drilling points.
Also Read: 5 Best Power Drill Machines For Beginners: Top Tools For Home DIY From iBell To Lifelong
Check What May Be Hiding Behind The Wall
Walls rarely contain only bricks and cement. Electrical cables, plumbing pipes, metal supports and conduits may run behind the surface. Drilling blindly can damage expensive wiring or create a dangerous situation.
Before choosing a drilling point, look for nearby switches, plug sockets, taps and air-conditioner outlets. Electrical wires often travel vertically or horizontally from these fittings. Avoid drilling directly above, below or beside them unless the internal layout is known.
A wall scanner or stud detector offers greater confidence. Basic models are available from hardware shops and online marketplaces, often starting at around ₹1,000. They can detect live wires, metal and changes in wall density. The tool may seem unnecessary for one small frame, but it becomes valuable when mounting several shelves, cabinets or television brackets.
Construction drawings can also help in newer homes. When those are unavailable, ask the building maintenance team or an experienced electrician.
A few minutes of checking can prevent damaged wiring, leaking pipes and a repair bill far larger than the cost of a simple detector.
Use A Paper Template Instead Of Guesswork
Heavy shelves and large frames can be awkward to hold against a wall while someone tries to mark the holes. Hands slip, brackets shift, and pencil marks wander. A paper template removes much of that chaos.
Place the shelf, bracket or frame on a large sheet of newspaper, brown paper or joined A4 sheets. Trace its outline and mark the exact location of every mounting hole. Cut out the shape, then tape the template to the wall.
This technique allows easy adjustments without lifting the actual object repeatedly. Move the paper up, down or sideways until the position looks right. Check nearby furniture, switches and ceiling lines before settling on the final location.
The template also shows the full width of the item. That matters when installing a long shelf near a doorway or cupboard. A bracket may fit perfectly while the shelf itself blocks a door.
Once satisfied, push a sharp pencil through the marked holes. Remove the paper and inspect the marks. The drilling points should now match the hardware exactly, with no balancing act required.
Measure From Fixed Reference Points
Measuring each hole separately invites small errors. A difference of only a few millimetres can leave a shelf tilted or prevent the brackets from lining up. The safer approach is to measure every point from the same fixed reference.
Choose a reliable starting line, such as the floor, ceiling, corner of the wall or edge of a door frame. Measure the height of the first hole from that reference. Then use the same measurement for the second hole.
Do not assume floors and ceilings are perfectly level. Older homes often contain slight slopes, uneven plaster or walls that are not completely square. A shelf aligned only with the ceiling may look crooked beside a nearby cupboard.
For long shelves, mark a horizontal guide using a spirit level or laser level. Measure the distance between mounting holes on the shelf itself, then transfer those measurements onto the guide line.
Write the measurements down instead of relying on memory. Numbers have a strange habit of changing between the toolbox and the wall. A clear record prevents confusion, especially when several brackets or frames are being installed together.

How To Drill In The Right Spot When Hanging Shelves And Frames; Photo Credit: Pexels
Mark The Centre Before Marking The Holes
A shelf or picture may be technically level yet still look wrong because it is not centred. Finding the visual centre first makes the final arrangement feel deliberate.
Measure the width of the wall or the furniture below the object. Divide that number by two and place a light pencil mark at the centre. Next, measure the width of the shelf or frame and identify its centre point.
Align both centre marks before deciding where the mounting holes should go. This method works particularly well above beds, sofas, television units and dining consoles.
However, visual balance sometimes matters more than mathematical balance. A curtain, tall lamp or cupboard on one side of the wall can make a perfectly centred frame appear off-centre. Step back and judge the complete scene rather than trusting the tape measure alone.
For a gallery wall, identify the centre of the entire arrangement instead of centring every frame independently. Lay the frames on the floor first and measure the full composition.
A small centre mark becomes the anchor for every later measurement. Without it, even accurate drilling can produce an arrangement that feels strangely unsettled.
Confirm Every Mark With A Spirit Level
Human eyesight is surprisingly unreliable when judging straight lines. A mark may appear level from close range but reveal an obvious slope once the shelf carries books or decorative pieces.
Place a spirit level across the drilling marks before making any hole. The bubble should rest exactly between the guide lines. If it leans to one side, adjust the marks rather than hoping the brackets will compensate later.
For a long shelf, check the level at several stages. First check the pencil guide line. Check again after marking the bracket holes. Finally, check the shelf after loosely fixing the screws but before tightening them fully.
A laser level can simplify larger projects. It projects a straight line across the wall, making it useful for gallery walls, kitchen shelves and rows of matching frames. Entry-level models can cost around ₹1,500 to ₹3,000, though a basic spirit level works perfectly well for occasional tasks.
Do not use a phone application as the only guide. Phone cases, camera bumps and uneven edges can affect the reading. A proper level offers a more dependable result and costs far less than repairing multiple holes.
Match The Drill Bit To The Wall Material
The correct drilling position means little if the wrong drill bit damages the surface. Concrete, brick, plasterboard, wood and tile each require different tools and techniques.
For brick or concrete walls, use a masonry bit, usually with a carbide tip. A hammer drill may be necessary for dense concrete. For wooden surfaces, choose a wood bit. Plasterboard needs suitable anchors and careful drilling because the material cannot support heavy loads on its own.
Tiles require extra caution. Use a tile or glass bit and begin at a low speed. Place masking tape over the drilling point to reduce slipping. Never activate hammer mode while drilling through the tile. Once the bit reaches the wall behind it, change the setting and bit if required.
Check that the drill bit diameter matches the wall plug. A hole that is too narrow may crush the plug. A hole that is too wide will not grip it securely.
The packaging for screws and anchors usually recommends a bit size. Read it before drilling. Guessing by appearance can lead to loose fittings, cracked plaster and shelves that slowly begin to sag.
Make A Small Pilot Mark Before Drilling Fully
Drill bits can slide away from a pencil mark when they first touch a smooth wall. This tiny movement may place the final hole several millimetres away from the intended position.
Create a shallow starting point before drilling fully. On masonry, gently tap a centre punch or masonry nail against the mark. The small indentation gives the drill bit a place to settle. On wood, use an awl or narrow pilot bit.
For tiles, masking tape provides extra grip. Mark the drilling point on the tape and start slowly. Apply steady pressure without forcing the bit.
Hold the drill perpendicular to the wall. Tilting it upward, downward or sideways creates an angled hole. The screw may then sit incorrectly even when the surface mark was accurate. Ask another person to view the drill from the side if judging the angle feels difficult.
Start at low speed until the bit gains purchase. Increase the speed gradually after the hole begins to form.
This controlled start takes only a few seconds, yet it prevents the drill from wandering and protects paint, plaster and tile from unnecessary damage.
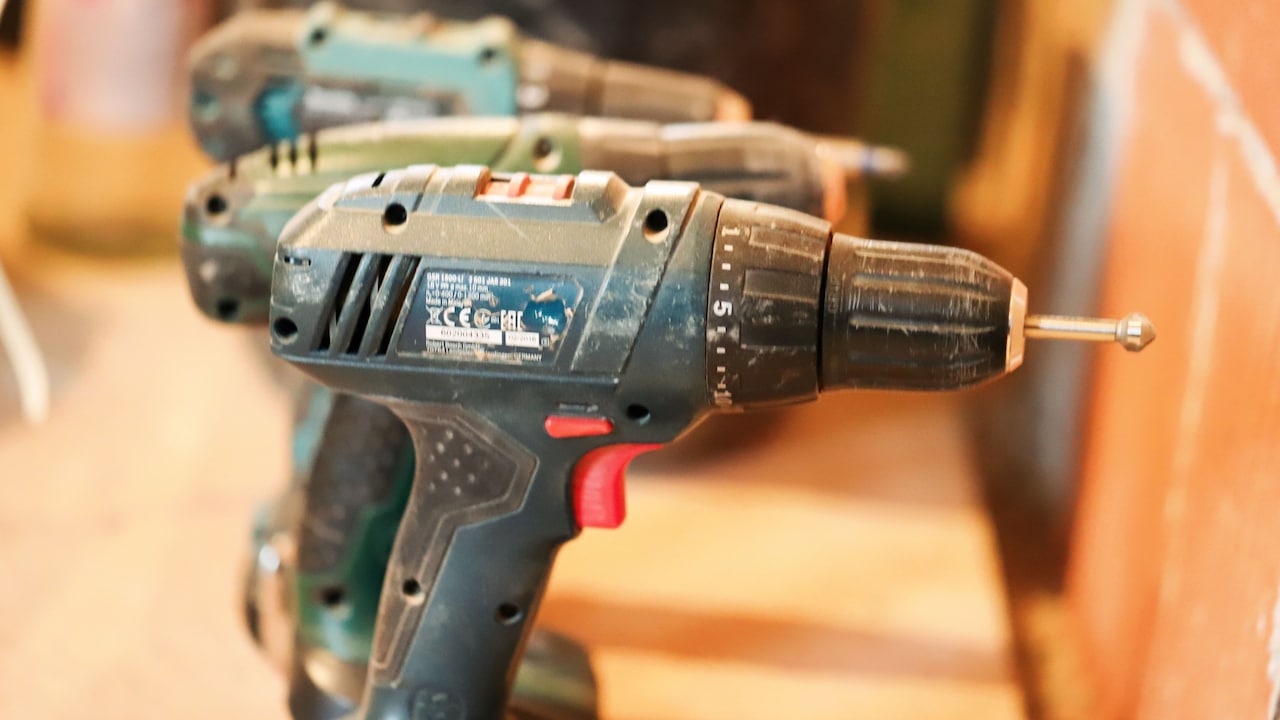
How To Drill In The Right Spot When Hanging Shelves And Frames; Photo Credit: Pexels
Drill One Hole And Test Before Making The Rest
When installing a shelf with several brackets, drilling every hole at once may feel efficient. It can also multiply a measuring error across the entire wall.
Begin with one hole. Insert the wall plug and loosely attach the first bracket. Hold the shelf or second bracket in position, then check the level and alignment again. This physical test often reveals small differences between the product measurements and the actual hardware.
Some brackets contain slightly oversized screw slots. Others may not be perfectly symmetrical, particularly in inexpensive flat-pack fittings. A paper measurement cannot always predict how the bracket will sit once tightened.
After confirming the first fixing point, mark the remaining holes through the actual bracket whenever possible. This reduces the chance of spacing errors.
Do not fully tighten the first screw immediately. Leave enough movement to make small adjustments. Once every bracket sits level and the shelf fits correctly, tighten the screws in sequence.
Testing one fixing point may appear slow, but it is far quicker than filling four misplaced holes and starting again on another section of the wall.
Use The Right Anchors For The Expected Load
A perfectly placed hole can still fail when paired with the wrong wall anchor. The fixing must suit both the wall material and the weight of the object.
A lightweight photo frame may need only a small screw and plug. A shelf holding books, kitchen containers or a microwave requires stronger fixings. Standard plastic wall plugs work well in solid brick or concrete when correctly sized. Hollow walls need anchors designed to expand or grip behind the board.
Consider the loaded weight, not just the empty shelf. A slim wooden shelf may feel light during installation, yet a row of hardback books can add considerable strain. Children may also pull on low shelves, creating extra force.
Check the load rating printed on the anchor packaging. Divide the expected weight across the number of fixing points, while allowing a safety margin. Do not rely on decorative adhesive hooks for heavy objects, regardless of bold claims on the packet.
Good-quality anchors may cost slightly more, but the difference is usually modest. Spending an extra ₹100 or ₹200 on suitable fixings is wiser than replacing broken décor, damaged electronics or a cracked shelf.
Step Back And Inspect Before Tightening Everything
The final check should happen while adjustments are still possible. Once every screw is fully tightened and the shelf is loaded, correcting a small tilt becomes more troublesome.
Attach the shelf or frame loosely, then step several metres away. View it from the centre of the room and from the doorway. Compare it with nearby lines such as window frames, cupboards and furniture edges.
Use the spirit level again, even when the object looks straight. Walls and furniture can create optical illusions. A frame may appear tilted because the ceiling slopes slightly, while the frame itself remains level.
For shelves, place a light object on top and check whether it rolls or slides. Also press gently on each corner to test for movement. Tighten the screws gradually, alternating between fixing points rather than securing one side completely first.
Wipe away pencil marks and drilling dust before placing decorative items. A vacuum cleaner held below the drill can collect dust during the job and reduce the familiar trail of grey powder across the floor.
That final pause transforms a rushed installation into a neat, professional-looking result.
Products Related To This Article
1. BUILDSKILL 800W Impact Drilling Machine for Home Use
2. IBELL Professional Tool Kit with Impact Drill TD13-100, 650W
3. BOSCH GSB 10 RE Corded-Electric Tool Kit
4. Lifelong 12V Cordless Drill Machine For Home Use
5. Bullet 12V Cordless Drill Machine for Wall, Wood & Metal
6. WONDERCUT Professional-Impact Drill Tool Kit
7. IBELL VORMIR TD13-120 650W Professional Tool Kit with Impact Drill
Drilling machine into the wrong spot usually comes from haste rather than lack of ability. The excitement of seeing a new shelf or frame on the wall can make the measuring stage feel like an obstacle. In reality, that stage is the project.
Plan the position, check for hidden services and create a paper template. Measure from reliable reference points, find the centre and confirm every mark with a spirit level. Use the correct drill bit, make a controlled starting point and test one hole before committing to the rest. Most importantly, choose anchors strong enough for the wall and the expected load.
These habits may add a few minutes to the job, but they prevent hours of filling, sanding and repainting. They also protect the objects being displayed and the people walking beneath them.
A straight shelf or neatly placed frame brings quiet satisfaction. There are no mysterious extra holes, no creative excuses and no strategically positioned plant hiding a mistake. Just a clean wall, a secure fitting and the pleasant feeling of getting it right the first time.
(Disclaimer: This article may include references to or features of products and services made available through affiliate marketing campaigns. NDTV Convergence Limited (“NDTV”) strives to maintain editorial independence while participating in such campaigns. NDTV does not assume responsibility for the performance or claims of any featured products or services.)