10 Frothing Mistakes That Leave Milk Airy, Loose Or Full Of Large Bubbles
Milk that looks foamy but collapses before the first sip usually points to technique, not the frother. From adding too much air to overheating the milk, these 10 common mistakes can ruin an otherwise creamy cup.
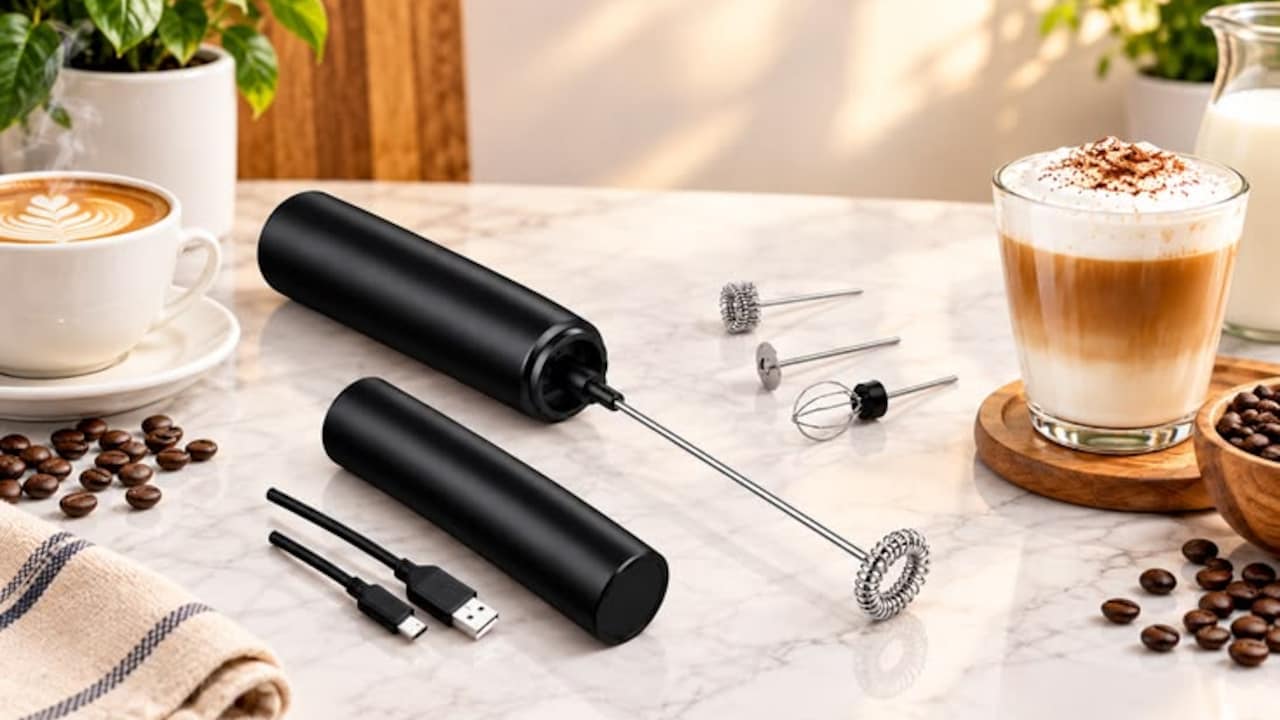
Why Is My Milk Froth Too Airy? 10 Common Frothing Mistakes Explained
There's a particularly annoying kind of coffee disappointment: the milk appears gloriously foamy in the jug, only to turn into something resembling bath bubbles by the time it reaches the cup. The top sits high and airy, the milk underneath stays thin, and that café-style creamy texture never quite appears. Good milk foam isn't simply about creating as many bubbles as possible. The goal is microfoam, a smooth mixture of milk and tiny air bubbles that feels creamy rather than frothy. Done well, the milk should look glossy, pour almost like wet paint and blend naturally with espresso instead of sitting on top of it like a separate cloud.
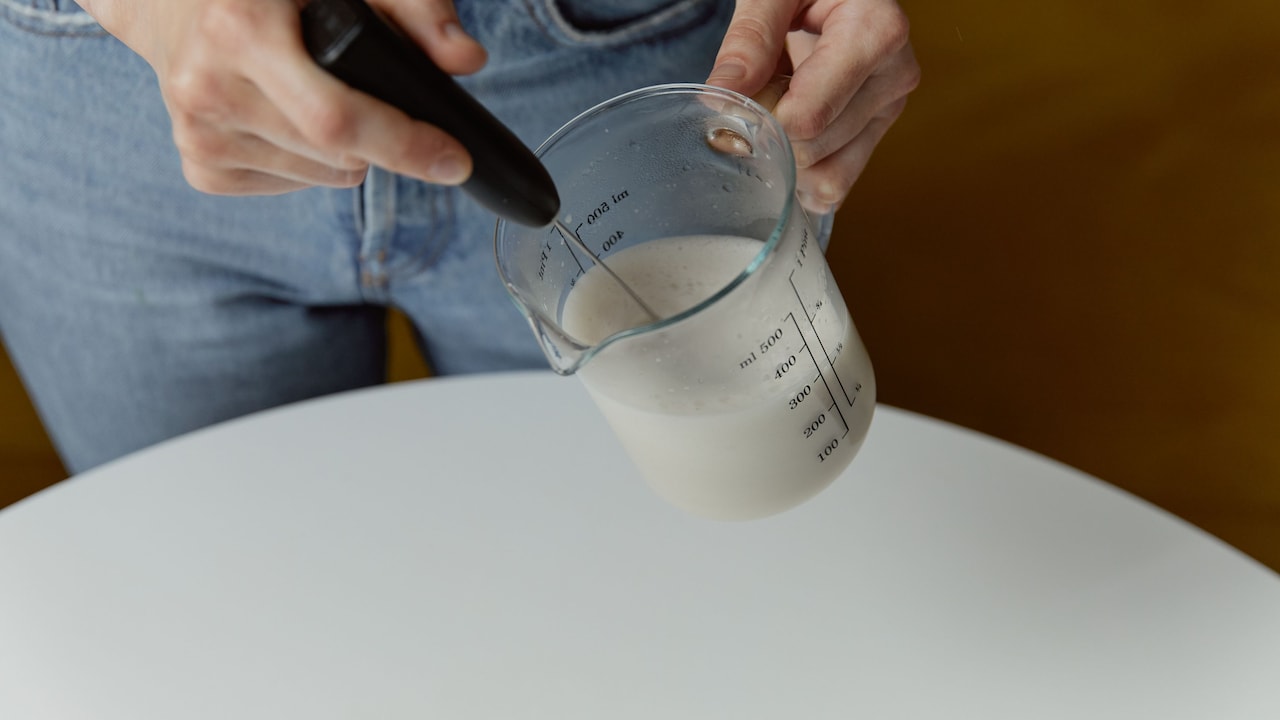
Why Is My Milk Froth Too Airy? 10 Common Frothing Mistakes Explained; Photo Credit: Pexels
Getting there can feel surprisingly tricky. Steam wands, handheld frothers, automatic machines and even French presses introduce air differently, but many failures come back to the same few habits. Temperature matters. So does timing, movement and even how much milk goes into the container. If your homemade cappuccino keeps producing giant bubbles, stiff foam or milk that loses its body within minutes, one of these ten frothing mistakes could explain why.
Also Read: How Coffee Makers Can Revitalise Your First Cup In The Morning
Where Smooth Microfoam Usually Goes Wrong
1. Adding Too Much Air At The Beginning
More air doesn't automatically mean better foam. In fact, aggressively pumping air into milk often creates exactly the texture most people are trying to avoid: large, dry bubbles floating above comparatively watery milk.
When using a steam wand, air should enter mainly during the early stage of frothing. The tip needs to sit close enough to the surface to introduce small amounts of air rather than gulping it in. You may hear a gentle paper-tearing sound. Loud spluttering usually means the wand has risen too far above the milk.
Handheld frothers create a similar problem when they remain near the surface for too long. The rapidly spinning whisk can pull in huge amounts of air and build a towering foam cap that looks impressive for about thirty seconds.
Think of good frothing as incorporating air rather than inflating the milk. Once its volume has increased sufficiently, focus on mixing that air through the liquid. A smaller quantity of fine foam will usually taste much creamier than a jug full of giant bubbles.
2. Holding The Frother Too Close To The Surface
Frothing near the milk's surface helps introduce air, but there's a fine line between controlled aeration and making a bubbly mess.
Keep a steam wand too high and it starts pulling large pockets of air into the milk. Instead of thousands of tiny bubbles spreading evenly throughout the jug, you get visible bubbles that rise quickly and burst. The milk may double in volume yet still feel oddly loose when poured.
The same principle applies to handheld frothers. Holding the whisk directly at the surface can create something closer to soap suds than microfoam. Once some air enters the milk, moving the whisk slightly deeper helps mix the bubbles into the liquid.
Watch the surface rather than obsessing over an exact measurement. Milk should expand gradually. It shouldn't splash across the counter or sound like a tiny motorboat struggling through a puddle.
When large bubbles appear immediately, lower the frothing device slightly. Tiny adjustments often make a bigger difference than increasing the frothing time or buying a more powerful appliance.

Why Is My Milk Froth Too Airy? 10 Common Frothing Mistakes Explained; Photo Credit: Pexels
3. Skipping The Whirlpool Effect
Adding air is only half the job. The other half involves distributing that air through the milk.
With a steam wand, positioning matters because the milk needs to circulate around the pitcher. A good whirlpool pulls larger bubbles beneath the surface and breaks them into increasingly fine bubbles. That movement also mixes the foam and liquid into one consistent texture.
Without enough circulation, the milk can separate into two obvious layers: thick foam on top and hot liquid underneath. Pour it into coffee and the liquid rushes out first while a stubborn lump of foam remains behind.
Place the steam wand slightly off-centre rather than pointing it straight into the middle of the jug. The milk should rotate smoothly instead of bouncing violently around.
Handheld frothers need movement too. Holding one perfectly still may aerate one section while leaving the rest untouched. Gentle movement through the milk encourages more even texture.
That glossy finish people associate with café milk comes largely from integration. Foam shouldn't merely sit on milk; it should become part of it.
4. Frothing Milk Until It Becomes Too Hot
Temperature can quietly ruin excellent frothing technique.
Milk changes as it heats. Proteins help stabilise air bubbles, while fats contribute richness and mouthfeel. Push the temperature too far, however, and the foam can become less pleasant, while the milk develops a cooked flavour that overwhelms the coffee.
For many coffee drinks, milk feels best somewhere around the 55°C to 65°C range. You don't need to turn every morning coffee into a laboratory experiment, but a small thermometer can help while learning. With experience, the pitcher itself becomes a useful clue.
One common mistake involves continuing to steam simply because the milk hasn't reached the desired volume. By then, the temperature may already be too high. The real problem often occurred earlier because insufficient air entered while the milk was cooler.
Introduce the necessary air first, then spend the remaining time creating circulation and heating the milk. Once the jug becomes uncomfortably hot to hold for long, you're usually approaching the point where steaming should stop.
5. Filling The Jug With Too Much Milk
That extra splash of milk may seem harmless, especially when making two coffees at once. Unfortunately, overcrowding the pitcher leaves very little room for milk to expand and circulate.
Milk increases in volume as air enters it. If the jug starts nearly full, that expansion has nowhere useful to go. The result can be messy splashing, weak circulation and inconsistent foam. In extreme cases, hot milk climbs towards the rim and suddenly makes the morning coffee routine considerably more exciting than intended.
Too little milk causes problems as well. A steam wand may sit too deeply or struggle to create the circulation needed for smooth microfoam.
For many pitchers, starting somewhere around the base of the spout gives the milk enough space to expand while keeping the wand properly submerged. Exact quantities depend on the jug and the drink you're making.
Rather than choosing the largest pitcher available, match the container to the amount of milk required. A sensible milk-to-jug ratio makes controlling airflow and movement far easier.

Why Is My Milk Froth Too Airy? 10 Common Frothing Mistakes Explained; Photo Credit: Pexels
6. Expecting Every Type Of Milk To Froth The Same Way
Two cartons can look almost identical in the fridge and behave completely differently under a frother.
Milk foam depends heavily on proteins, while fat changes its texture and richness. Full-fat dairy milk often creates a creamy result, while lower-fat versions may produce more obvious foam with a lighter mouthfeel. Neither automatically counts as better; they simply behave differently.
Plant-based options introduce even more variation. Oat, soy, almond and other alternatives have different protein and fat compositions. Some standard versions struggle to hold fine bubbles, while products designed specifically for coffee often froth more reliably.
This becomes confusing when a technique works beautifully with one carton and fails the following week after switching brands or varieties. The frother gets blamed even though the liquid has changed.
Instead of forcing exactly the same technique onto every milk, adjust gradually. Some varieties need less aeration. Others require more careful temperature control.
A little experimentation beats chasing enormous foam volume. The useful question isn't “How high can this milk rise?” but “Can this milk stay smooth once poured?”
7. Frothing Milk That Has Already Been Heated Once
Leftover warm milk creates an obvious temptation. Why throw it away when it could simply go back under the steam wand?
Unfortunately, repeatedly heating and frothing the same milk rarely improves its texture. The first heating cycle has already altered the proteins responsible for stabilising foam. A second round may produce weaker bubbles, poorer texture and a less fresh flavour.
There's another practical problem. Previously frothed milk already contains air. Trying to introduce even more can turn reasonably smooth foam into something increasingly dry and stiff.
Start with fresh, cold milk whenever possible. Cold milk provides more time to introduce air and develop texture before the temperature climbs too far. It also makes the whole process easier to control, particularly for beginners.
The simplest solution is portion control. Pour roughly what the drink requires rather than filling the pitcher generously “just in case”. It reduces waste and gives each cup a fresh batch of foam.
That last spoonful of yesterday's reheated milk may seem economical, but beautifully textured coffee generally starts with a clean jug and fresh milk.
8. Using A Steam Wand Without Purging It Properly
Steam wands can collect condensed water while they sit unused. Start frothing immediately and that water may shoot straight into the milk.
A small amount doesn't sound dramatic, but it can interfere with the texture and make the opening seconds of frothing less predictable. Instead of receiving dry, powerful steam, the milk gets a sudden watery blast followed by steam.
Before putting the wand into the jug, briefly open the steam valve to clear condensation. Once finished, wipe the wand promptly and purge it again. Dried milk around the steam holes can restrict airflow and reduce performance over time.
A partially blocked steam tip creates its own strange symptoms. The milk may swirl unevenly, the steam may feel weaker, or one jet may push the milk in an awkward direction.
Cleaning therefore affects more than hygiene. It influences how consistently the machine can create microfoam.
When a technique that normally works suddenly starts producing disappointing milk, checking the steam tip can save a lot of frustrated experimenting with jug angles and temperatures.
9. Letting Frothed Milk Sit Too Long Before Pouring
Beautiful microfoam has a limited attention span. Leave it sitting on the counter while arranging biscuits, finding sugar or answering a message and its texture starts changing.
Foam gradually separates from the liquid. Lighter bubbles move upwards while denser milk settles below. What looked glossy and uniform immediately after frothing can become a thick cap sitting over noticeably thinner milk.
Pour soon after frothing whenever possible. Before pouring, gently swirl the pitcher to keep the milk moving as one mixture. If a few visible bubbles remain on the surface, a light tap on the counter can help release them, followed by another swirl.
Don't rely on tapping alone. Hammering the jug against the counter may pop a handful of large bubbles, but it won't magically transform badly aerated milk into microfoam. The real work needs to happen during frothing.
Timing also matters when preparing espresso. Ideally, organise the process so neither the coffee nor the milk spends several minutes waiting for the other. Freshly textured milk rewards a little coordination.
10. Chasing Foam Height Instead Of Texture
A towering layer of foam makes for an impressive photograph, but height alone tells you very little about quality.
This mistake appears frequently with handheld frothers because their speed can create plenty of visible volume. Keep whisking and the milk rises higher, which makes it feel as though the process must be improving. Often, the opposite happens. The foam becomes increasingly dry while the liquid underneath stays thin.
Good microfoam behaves differently. It looks glossy rather than stiff. When you tilt the jug, the entire mixture should move smoothly. Pouring should feel controlled, without a sudden rush of liquid followed by a blob of foam.
Different drinks also call for different textures. A cappuccino can handle more aeration, while a flat white usually suits finer, thinner microfoam. There's no single ideal foam height for every cup.
So, stop using volume as the scoreboard. Pay attention to bubble size, shine and consistency instead. Milk that rises modestly but pours like warm cream will usually create a far more satisfying coffee than a spectacular foam mountain.
Products Related To This Article
1. CÜRAA Coffee Frother Electric | Rechargeable, 3-Speed Milk Frother for Coffee with Stand
2. AGARO Royal Milk, 3‑Speed Electric for Coffee with Whisk
3. Nova Electric Milk Frother for Coffee
4. Electric Milk Frother Handheld Whisk Beater Foam Maker
5. Sleepy Owl Powerful Milk Frother for Coffee | Black Color
6. InstaCuppa Rechargeable Travel Milk Frother with 3 Speed Settings
7. GetSetNova Milk Frother Rechargable Coffee Frother Milk
Great milk foam comes down to control rather than sheer frothing power. Introduce air gently, keep the milk circulating, watch the temperature and pour before the texture separates. Once those habits click, those giant bubbles start disappearing and the milk becomes smoother, glossier and far easier to blend into coffee.
(Disclaimer: This article may include references to or features of products and services made available through affiliate marketing campaigns. NDTV Convergence Limited (“NDTV”) strives to maintain editorial independence while participating in such campaigns. NDTV does not assume responsibility for the performance or claims of any featured products or services.)