How To Pick A Camera For Low-Light Corridors And Parking Areas
Choose the right camera for dim corridors and parking areas by checking sensor size, infrared range, WDR, lens quality, motion clarity and storage needs. This guide helps you capture clearer faces, vehicles and number plates after dark.
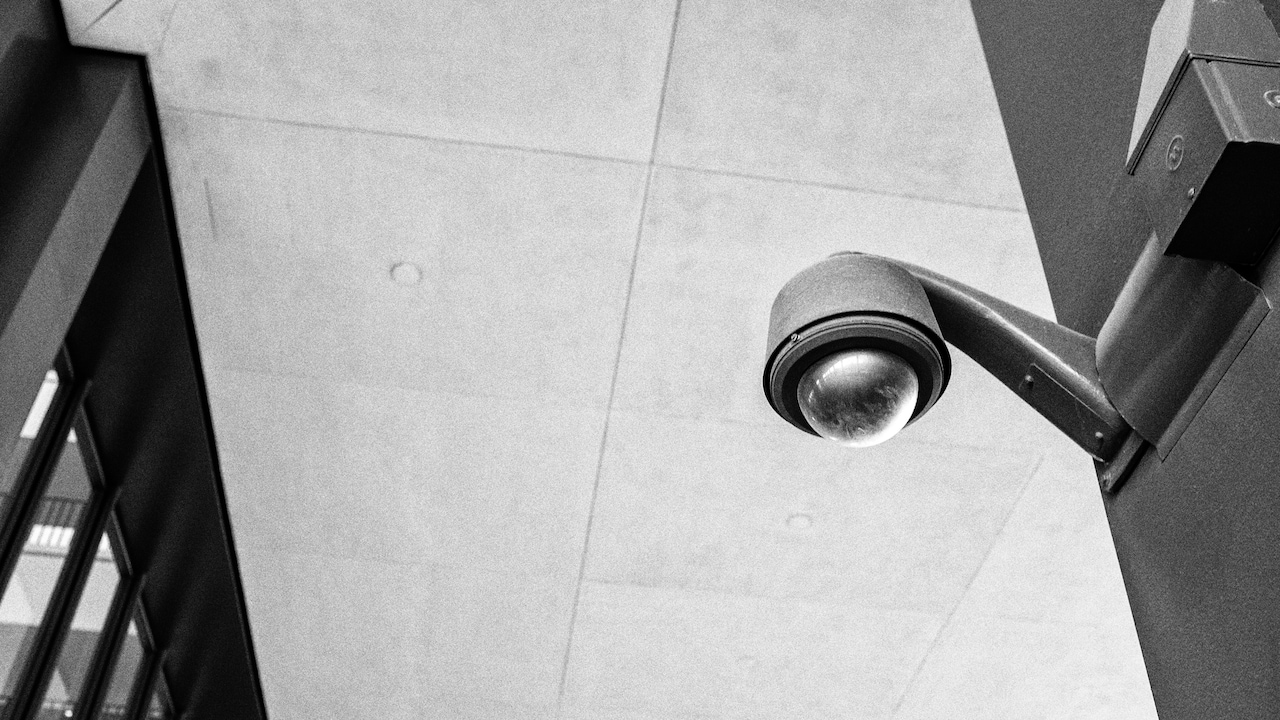
Top features to consider when buying a security camera
A quiet corridor after midnight can feel very different from the same passage during the day. Shadows stretch across corners, ceiling lights flicker, and every movement appears more suspicious than it probably is. Parking areas present another challenge. Headlights flare into the lens, pillars block the view, and distant corners often receive barely enough light to reveal a person. A standard security camera may perform well in a bright showroom yet struggle badly in these spaces. The picture can become noisy, faces may blur, and number plates can appear as glowing white rectangles. That defeats the purpose of installing surveillance equipment in the first place.
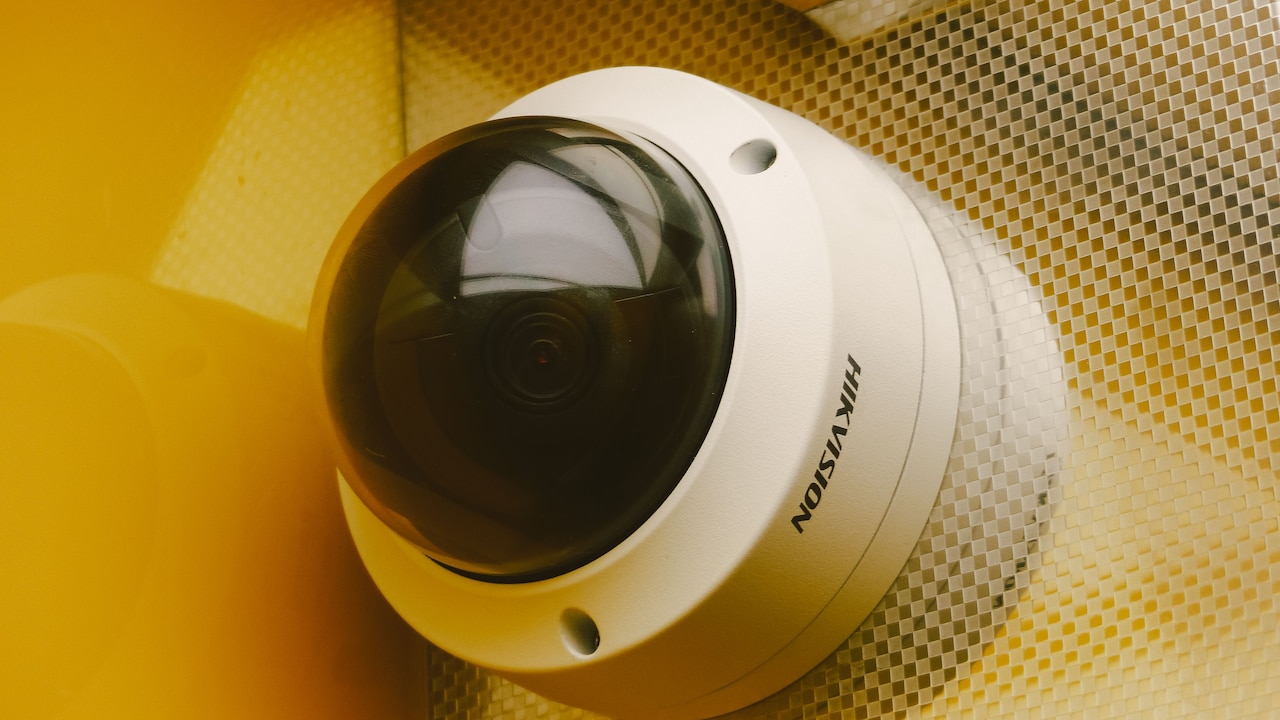
How to choose a security camera for low-light conditions
Photo Credit: Pexels
Choosing a camera for low-light areas requires more than checking the megapixel count. Sensor size, lens quality, infrared performance, dynamic range and installation position all influence the final footage. Storage capacity and maintenance matter too.
Also Read: Top 5 Home Security Cameras Under ₹3,000 With Night Vision For Complete Peace Of Mind
The following ten considerations can help homeowners, housing societies, offices, shops and facility managers choose a camera that records useful evidence rather than vague shapes moving through darkness.
Key Factors To Consider Before Choosing A Low-Light Camera
1. Start With The Actual Lighting Conditions
Before comparing camera models, examine the location at different times. A corridor that looks reasonably bright at 7 pm may become gloomy after most lights switch off. A parking area may receive daylight near the entrance but remain almost black behind pillars and ramps.
Check whether the lighting stays constant or changes frequently. Motion-activated lamps, vehicle headlights, emergency lights and nearby signboards can create sudden shifts in brightness. These changes often confuse basic cameras.
Also note the darkest corners, reflective surfaces and areas where people usually enter or pause. A camera facing polished tiles or a glossy car bonnet may receive more glare than expected. A basement parking area with grey walls may absorb light and produce flat, unclear footage.
Avoid judging the site only during installation hours. Visit it late at night or review it just before sunrise. A simple phone photograph can help compare different sections, although a phone camera often brightens scenes automatically.
Understanding the real lighting conditions prevents overspending on unnecessary features and reduces the risk of choosing a camera that performs well only under showroom lights.
2. Pay Attention To Sensor Size
The image sensor acts like the camera's eye. A larger sensor usually gathers more light, which helps produce clearer footage in dark spaces. This matters far more in a dim corridor than an impressive megapixel number printed in large letters on the box.
Many buyers assume that a higher-resolution camera will always deliver better results. That is not necessarily true. Packing too many pixels onto a small sensor can reduce the amount of light each pixel receives. The footage may look sharp during the day but become speckled and muddy at night.
For low-light surveillance, look for cameras with larger sensors and strong night performance. A 1/2.8-inch sensor often performs better than a much smaller sensor, although image processing and lens quality also affect results. Some premium cameras use even larger sensors for improved clarity.
Ask the seller for genuine night footage rather than relying on a bright demonstration screen. The sample should show moving people, not only an empty room.
Think of sensor size as a steel tumbler collecting rainwater. A wider tumbler gathers more water. In the same way, a larger sensor gathers more light and gives the camera more visual information to work with.
3. Check The Lux Rating Carefully
A camera's lux rating indicates how much light it needs to produce an image. A lower number generally suggests better low-light performance. For example, a camera rated at 0.01 lux should handle darkness better than one rated at 0.1 lux under comparable conditions.
However, lux ratings can become confusing because manufacturers may test cameras under different settings. One brand may quote performance with slow shutter speeds enabled, while another may measure it with infrared lighting. These results do not always reflect real-world use.
Look for separate ratings for colour mode and black-and-white mode. A camera may need more light to record colour but continue working in monochrome when the area grows darker. This can prove useful in corridors where clothing colours matter during an investigation.
Treat extremely low lux claims with a little healthy suspicion, especially when the camera costs less than a family dinner. Request unedited sample footage from a similar location. Check whether moving faces remain visible or turn into ghostly smudges.
The lux figure should guide the decision, not control it. Sensor quality, aperture, shutter speed and image processing work together. A balanced camera usually performs better than one promoted through a single dramatic specification.
4. Choose The Right Infrared Range
Infrared illumination allows a camera to record in near-total darkness. Built-in infrared LEDs light the scene with wavelengths that remain mostly invisible to the human eye. The camera then captures black-and-white footage.
The advertised infrared range should match the actual distance that needs coverage. A narrow corridor may require only 10 to 20 metres. A large parking area may need 30 metres or more. Buying an extremely powerful infrared camera for a short passage can cause faces near the lens to appear overexposed.
Smart infrared technology can reduce this problem. It adjusts the intensity of the LEDs when a person moves closer to the camera. Without this feature, a visitor standing two metres away may look like a glowing figure with no facial detail.
Walls, low ceilings and reflective number plates can also bounce infrared light back towards the lens. This creates bright patches and dark backgrounds. A camera with adjustable infrared strength offers more control.
Do not confuse a long infrared claim with even coverage. Some cameras produce a bright centre and dark edges, rather like a torch with weak batteries. Look for balanced illumination across the entire frame, particularly near doors, lifts and parking bays.
5. Look For Strong Wide Dynamic Range
Parking entrances and corridors often contain bright and dark areas in the same frame. A vehicle may enter with headlights on while the background remains dim. A person may stand near a brightly lit doorway with a shadowy passage behind them.
Wide Dynamic Range, usually called WDR, helps the camera manage these differences. It combines image information from bright and dark portions of the scene so that both remain visible. Without effective WDR, a face near an entrance may appear completely dark, while the outdoor area looks perfectly clear.
Look for true WDR rather than basic digital WDR when strong backlighting exists. True WDR generally handles difficult scenes more effectively because it captures multiple exposure levels. Digital WDR relies more heavily on software adjustments and may introduce noise.
A rating such as 120 dB often indicates capable performance, though real footage matters more than the number. Test the camera with headlights, sunlight or a bright tube light facing the lens.
Good WDR can make the difference between identifying a person and watching a silhouette stroll away. In parking areas, it also helps preserve vehicle shape and number plate detail during sudden changes in brightness.
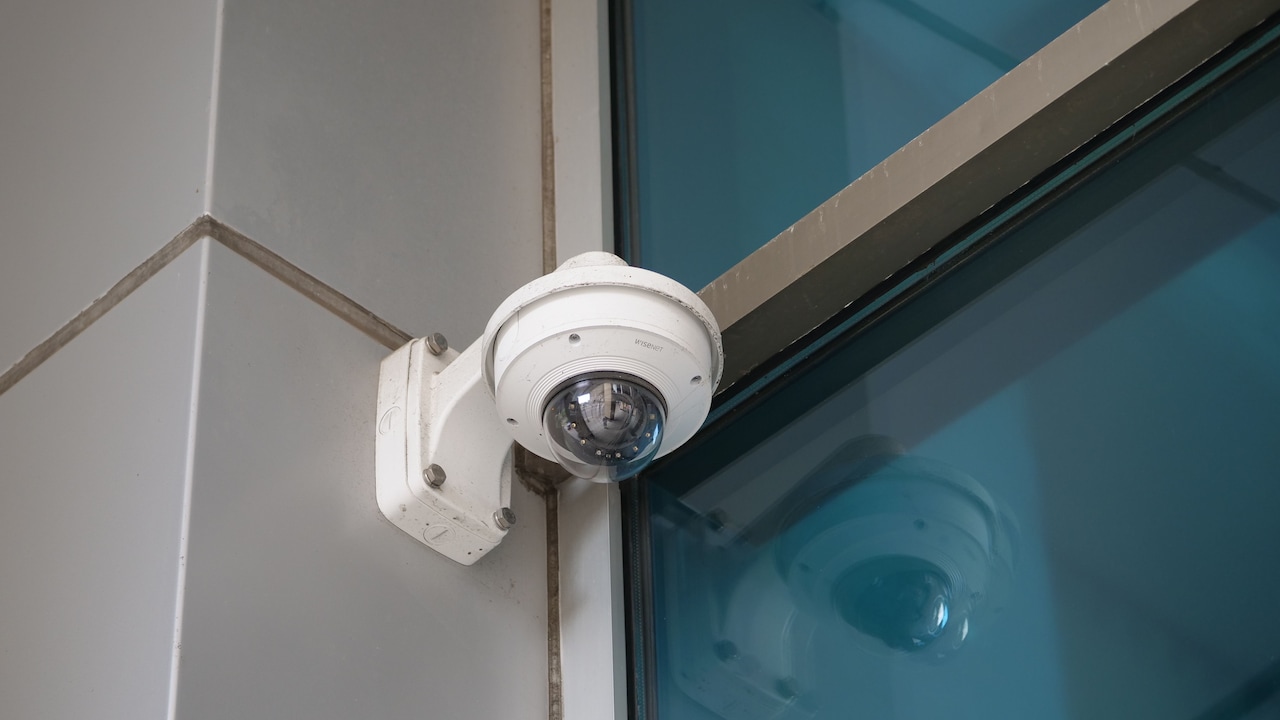
Consider cameras with a strong wide dynamic range
Photo Credit: Pexels
6. Select A Lens That Matches The Space
The lens determines how much of the area the camera can see and how clearly it can capture distant details. A wide-angle lens covers more space, which suits narrow corridors and lift lobbies. However, very wide lenses can make faces and objects appear smaller.
A 2.8 mm lens often provides a broad view. It can work well in short corridors, reception areas and compact parking sections. A 4 mm or 6 mm lens gives a narrower view but captures more detail at a distance. This may suit long passages, entrance lanes or vehicle access points.
Varifocal cameras offer greater flexibility because the viewing angle can be adjusted during installation. They cost more, but they help when the exact field of view remains uncertain. A technician can zoom in on a gate, ramp or doorway without moving the camera.
The lens aperture also matters. A lower f-number, such as f/1.6, allows more light to reach the sensor. This improves low-light performance.
Avoid trying to cover an entire basement with one ultra-wide camera. The footage may look impressive on a monitor, yet faces can become tiny. Several well-positioned cameras often provide more useful evidence than one camera attempting to behave like a watchtower.
7. Consider Motion Blur And Shutter Speed
A camera may produce a bright, attractive night image and still fail to capture a moving person clearly. This happens when the camera uses a slow shutter speed to gather more light. Static walls look sharp, but walking people become blurred.
Motion blur poses a serious problem in corridors and parking areas because people and vehicles rarely remain still. A clear image of an empty pillar offers little value when the person beside it resembles a streak of colour.
Check whether the camera allows shutter-speed adjustment. Faster shutter speeds freeze movement but require more light. Slower speeds brighten the scene but increase blur. The correct balance depends on the location.
For a quiet residential corridor, moderate settings may work well. A vehicle entrance needs faster capture because cars move quickly and headlights create additional glare. Cameras with good sensors can maintain clarity without relying heavily on slow shutter speeds.
Ask for sample footage that includes walking, running and vehicle movement. Pause the video and inspect faces, hands and number plates. Do not judge quality only while the footage plays.
A useful security image should survive the pause button. If every moving subject turns into modern art, the camera needs better settings or stronger low-light capability.
8. Decide Whether Colour Night Vision Is Necessary
Traditional night cameras switch to black-and-white footage when light levels drop. This often provides better clarity because the sensor can use infrared illumination. However, colour night vision has become increasingly popular.
Colour footage can reveal useful details such as clothing, vehicle colour, bags and helmets. A witness may not remember a face but may clearly recall a red jacket or blue scooter. In such cases, colour information can support an investigation.
Some cameras use highly sensitive sensors and wide-aperture lenses to maintain colour in low light. Others include a warm LED light that illuminates the area. The second option can produce clearer colour but may disturb residents or attract attention.
Consider the atmosphere of the location. A bright white light switching on whenever someone crosses a corridor may annoy neighbours. In a parking area, gentle supplementary lighting may improve both safety and camera performance.
Colour night vision also requires careful placement. Strong headlights or reflective walls can affect exposure. Review sample footage from a similarly dark site.
Choose colour night vision when colour details genuinely matter. Otherwise, a strong black-and-white infrared camera may provide sharper and more dependable evidence at a lower cost.
9. Match Resolution With Storage And Network Capacity
Higher resolution can improve detail, but it also increases storage and bandwidth requirements. A 4K camera may capture a wide parking area beautifully, yet several such cameras can fill a recorder quickly.
For many corridors, a good 2 MP or 4 MP camera provides sufficient detail when installed at the correct height and distance. Larger spaces may benefit from 5 MP or 8 MP cameras, especially when digital zoom could become necessary later.
Check the recording format. Modern compression standards such as H.265 can reduce file sizes compared with older formats. Smart codecs may save additional space by reducing data in areas where nothing changes.
Calculate storage based on the number of cameras, recording hours, frame rate and retention period. A housing society that needs 30 days of footage should not discover after an incident that the system stores only six days.
Network capacity also matters for IP cameras. Weak cabling or overloaded switches can cause dropped frames and interrupted recordings. Smooth live viewing does not always guarantee complete stored footage.
Spend according to the scene, not the marketing label. A correctly positioned 4 MP camera with good low-light performance can outperform a poorly placed 8 MP camera that creates enormous files filled with blur.
10. Test Installation Height, Angle And Maintenance Needs
Even the best camera can fail when installed in the wrong position. Mounting a camera too high may show the top of every head but little facial detail. Placing it directly opposite headlights can produce constant glare.
For corridors, position the camera so that people naturally move towards it rather than only across the frame. At entrances, aim for a clear view of faces without making the device easy to reach. In parking areas, use separate angles for general activity and number plate capture when possible.
Avoid placing cameras too close to walls, pipes or ceiling edges. Infrared light can bounce off these surfaces and create a hazy image. Dust, spider webs and moisture can also reflect infrared light, making the footage look foggy.
Choose a suitable weather and dust protection rating for semi-open parking areas. Cameras exposed to monsoon spray, exhaust fumes and construction dust need stronger housings.
Regular cleaning matters. A thin layer of dirt can reduce night clarity more than expected. Schedule checks for focus, time settings, storage health and infrared performance.
A camera should not become a forgotten plastic eye on the ceiling. Routine maintenance keeps it useful when a real incident demands clear answers.
Products Related To This Article
1. Qubo Smart Cam 360° 3MP [2026 Edition] by Hero Group
2. 1080P Mini Spy Camera with Low Light Vision
3. Full HD 1080P Wireless WiFi Security Camera
4. Mini Wireless WiFi Security Camera
5. MANOMAY Protect Pro 3MP 4G SIM Security Camera
Choosing a camera for low-light corridors and parking areas requires a practical approach. Resolution alone cannot guarantee clear evidence. The camera must gather enough light, control glare, freeze movement and cover the right distance.
Start by studying the location after dark. Then compare sensor size, lux performance, infrared range, WDR, lens choice and shutter behaviour. Decide whether colour night vision adds genuine value. Balance resolution with storage capacity, and give equal attention to installation and maintenance.
A dependable surveillance system should answer simple questions clearly. Who entered the corridor? Which vehicle used the gate? What colour was the jacket? Can the face or number plate be recognised?
The cheapest camera may save a few thousand rupees during installation but create far greater frustration after an incident. At the same time, the most expensive model may prove unnecessary for a short, well-lit passage.
The best choice sits between those extremes. It suits the space, handles the darkness and records details that remain useful when someone presses pause.
(Disclaimer: This article may include references to or features of products and services made available through affiliate marketing campaigns. NDTV Convergence Limited (“NDTV”) strives to maintain editorial independence while participating in such campaigns. NDTV does not assume responsibility for the performance or claims of any featured products or services.)