What Is The Difference Between A Highlighter And An Illuminator
Confused between a highlighter and an illuminator? Discover their key differences, how to use each one, and which product is best for your makeup look.
Discover the key differences between highlighters and illuminators
There was a time when a matte finish was in charge of the whole beauty world, but now, glowing skin is everywhere. From celebrity makeup moments to everyday “no-makeup” makeup trends, the desire for natural-looking radiance has become one of the most sought-after beauty goals right now. And since there are so many glow-boosting products on the shelves, it's also pretty easy to mix up a highlighter with an illuminator.
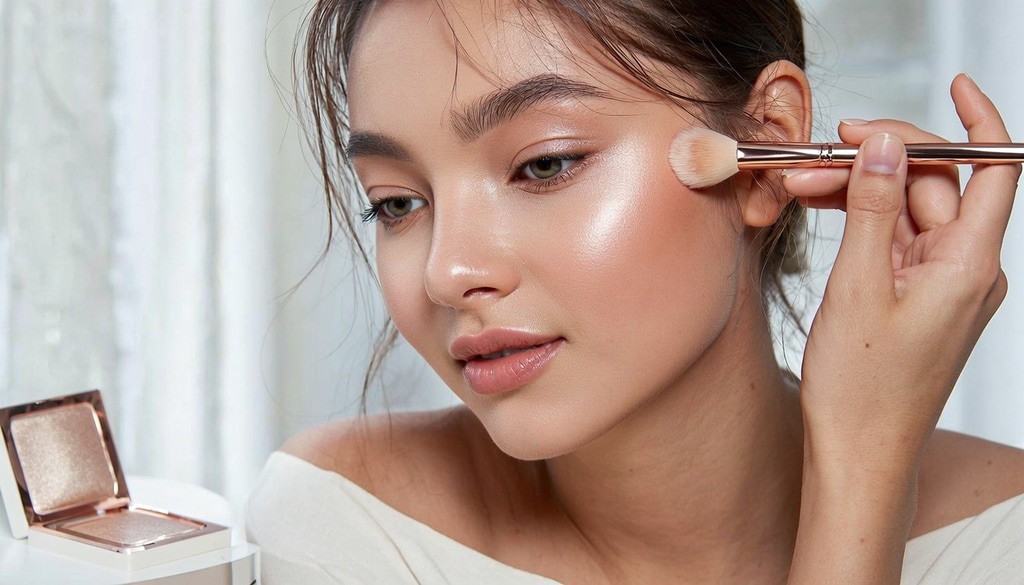
Discover how to use highlighters and illuminators for your most radiant skin finish ever.
Photo Credit: iStock
At first glance, highlighters and illuminators may appear similar and share the same general idea, but they serve different purposes in a makeup routine. This guide explains the difference between a highlighter and an illuminator, when to use each, and how to achieve your desired glow.
Also Read: Top Luxury Highlighters That Are Worth The Hype
What Is A Highlighter?
A highlighter is a makeup product made to accentuate the high points of your face, it is kind of “glowy” by reflecting light. It gives that more defined, lifted, radiant vibe in a way that looks awake even when you don't feel like it.
People usually apply highlighters to the cheekbones, nose bridge, brow bone, cupid's bow, and inner eye corners. You can find them in powder, cream, liquid or stick format, so they can match different skin types and personal makeup habits, depending on what you like to use.
What Is An Illuminator?
An illuminator is made to add a general glow, not to really spotlight separate facial details. Instead of making crisp, sharp little points of light, it gives the skin a softer, fresher radiance that looks healthy.
Illuminators are often mixed with foundation, worked into moisturiser, or placed underneath makeup so you can achieve that lit-from-within effect. Some can also be used on the body to enhance the skin's natural glow.
Highlighter Vs Illuminator: What's The Difference?
While both products are made to improve your complexion, they end up doing different things on the skin. A highlighter is mostly there to pull focus onto certain parts of your face by bouncing light around so areas like the cheekbones, the brow bone, and even the bridge of the nose look more sharply defined.
Then there's illuminator. This one is more about giving you a general luminous sheen across the whole face, not zooming in on individual spots. People often stir it in with foundation, blend it into moisturiser, or place it beneath makeup so that your skin shows up as naturally radiant, like you actually slept well or something.
They also differ in their finishing effects. Highlighters usually bring a stronger shimmer, or a clearer reflective effect, so they work really well for glam looks or for sculpted makeup routines. Illuminators typically have a softer appearance, resembling a healthy glow and creating a "hydrated" vibe, making them a popular choice for everyday wear.
The choice between them ultimately depends on the desired outcome. If you want to accent your facial features, a highlighter is the better route. An illuminator is likely the better choice if you want a complexion that appears fresh and naturally lit from within.
How To Choose Between A Highlighter And An Illuminator?
The right choice depends on the finish you are going for and also the occasion.
If you like defined cheekbones and a more polished makeup look, then a highlighter is probably the better option. But if you want a softer, everyday radiance, nothing too obvious or shimmery, then an illuminator might fit you better.
Many people use both as well, like an illuminator for an all-over glow and a highlighter to lift up specific facial features.
How To Apply Highlighter And Illuminator
Step 1: Start With A Hydrated Base
Apply moisturiser and primer before you start your makeup. When your skin is well prepped, it helps both highlighters and illuminators blend more smoothly, resulting in a more natural-looking finish.
Step 2: Apply Your Base Makeup
Use your favourite foundation, BB cream, or skin tint. If you use an illuminator under your makeup, mix a little with the foundation before applying.
Step 3: Use Illuminator For Overall Glow
Swipe the illuminator on the parts where the light usually lands on your face, or just blend it right into your base makeup until it looks all even, even if it's a little tricky. That way you get a softer, glowing effect, not that obvious, overly shiny look.
Step 4: Highlight The High Points
Then use a highlighter along your cheekbones, brow ridge, the bridge of your nose, Cupid's bow, and the inner eye corners. Mix it in gently, like slow brushing, so it stays seamless and doesn't stand out too much.
Step 5: Blend Well
No matter if you're using a cream, liquid, or powder formula, blending is always essential; otherwise it looks less natural. Harsh lines can make the whole glow feel a bit too artificial.
Step 6: Layer If Needed
For special events, you can do a little layering trick: use a powder highlighter over a cream or liquid base, and the radiance tends to last longer, plus it gets more intense.
Step 7: Set Your Makeup
Finish with a setting spray to help your makeup last longer while keeping the glow looking fresh instead of powdery.
Step 8: Adjust According To Lighting
Natural daylight reveals makeup differently from indoor lighting. Before you head out, check your glow in natural light, just to make sure it looks balanced, not overly shiny.
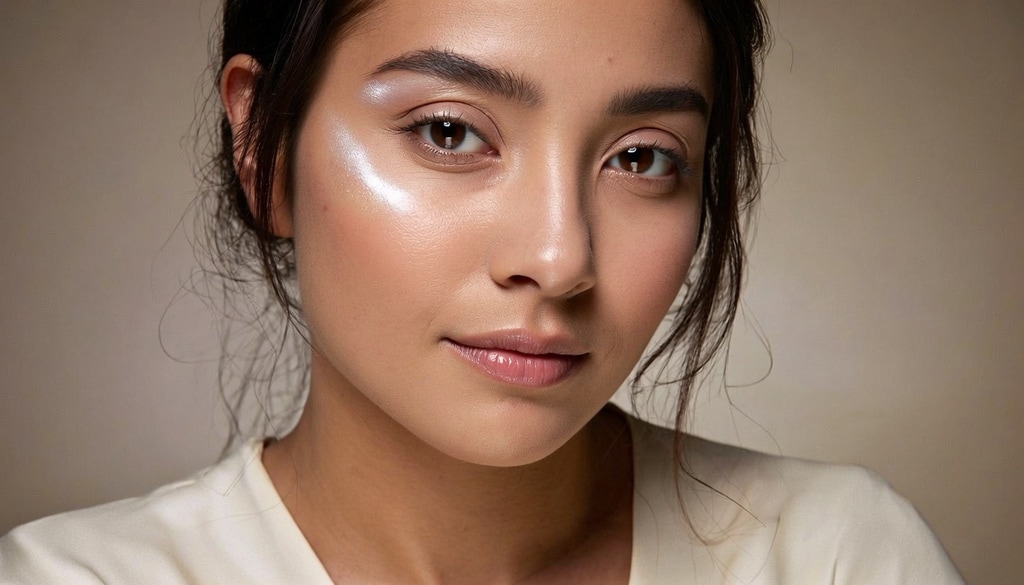
Choose the best glowing makeup product by understanding how highlighters differ from illuminators.
Photo Credit: iStock
Some Highlighter And Illuminator Products You May Like
1. Lakme 9to5 Hya Beach Edit SPF Highlighter with Creamy Texture
2. Renee You Are Glowing Liquid Highlighter
3. LAMIOR Face Dew Strobe Highlighter
4. Maybelline New York Face Studio Master Chrome Metallic Highlighter
5. Renee Hot Shot Face & Body Glowstick
6. FACES CANADA Stroke Your Way Strobe Cream
7. Marbela Strobe Cream For Face
8. SOTRUE Strobe Cream For Face Highlighter
Frequently Asked Questions (FAQs)
1. Can I use an illuminator instead of a highlighter?
Yes, an illuminator can give that subtle glow, but it isn't really going to deliver the same kind of pinpoint definition, like a highlighter would.
2. Which comes first, illuminator or highlighter?
Typically, an illuminator is applied before or mixed with foundation, while a highlighter is applied after your base makeup.
3. Is highlighter suitable for everyday makeup?
Yes. Applying a small amount with a light hand creates a natural glow suitable for daily wear.
4. Can oily skin use illuminators?
Yes. People with oily skin can use lightweight, non-greasy illuminators and focus application on areas that don't become excessively oily.
5. Do I need both a highlighter and an illuminator?
Not necessarily. If you prefer subtle radiance, an illuminator may be enough. If you enjoy more defined, glowing features, a highlighter works well. Many people use both together for a balanced finish.
(Disclaimer: This article may include references to or features of products and services made available through affiliate marketing campaigns. NDTV Convergence Limited (“NDTV”) strives to maintain editorial independence while participating in such campaigns. NDTV does not assume responsibility for the performance or claims of any featured products or services.)