10 Reasons Sandwich Makers Brown Bread Unevenly And How To Get More Consistent Toasting
Unevenly toasted sandwiches often come down to heat, bread thickness, fillings or plate contact. Here are 10 common reasons sandwich makers brown bread unevenly, plus simple fixes for more consistent results.
10 Reasons Sandwich Makers Brown Bread Unevenly And How To Get More Consistent Toasting
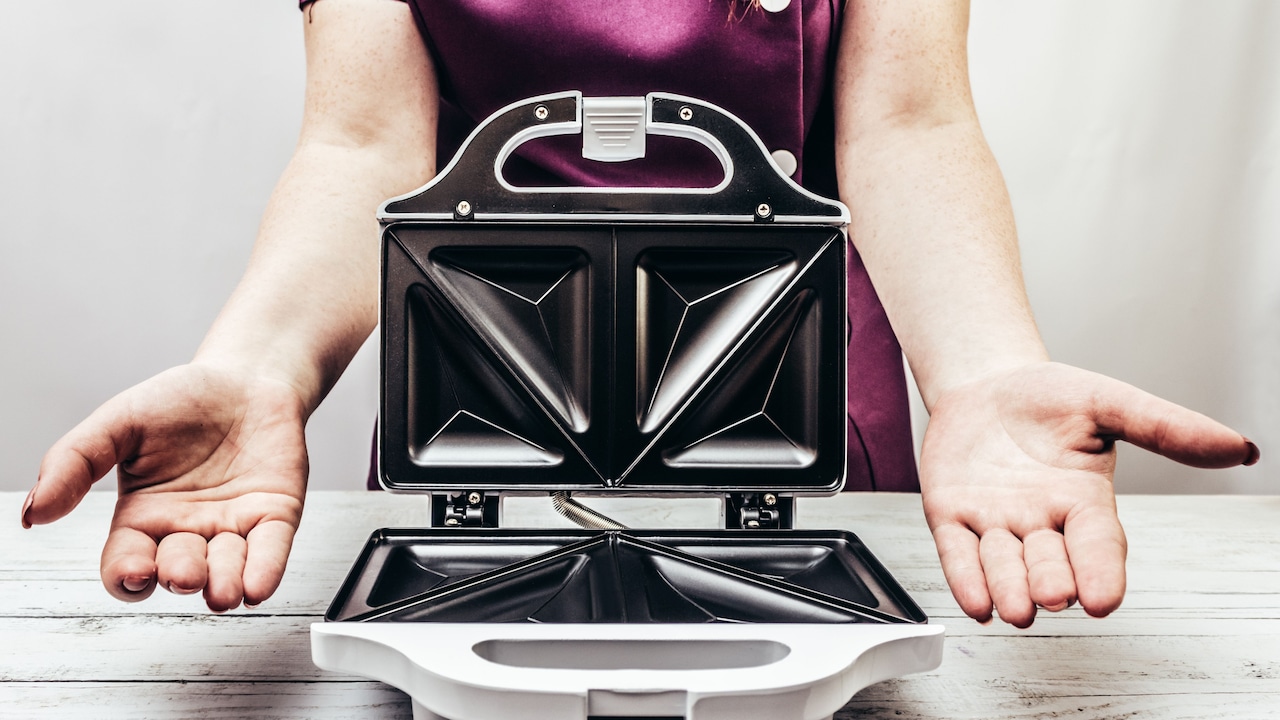
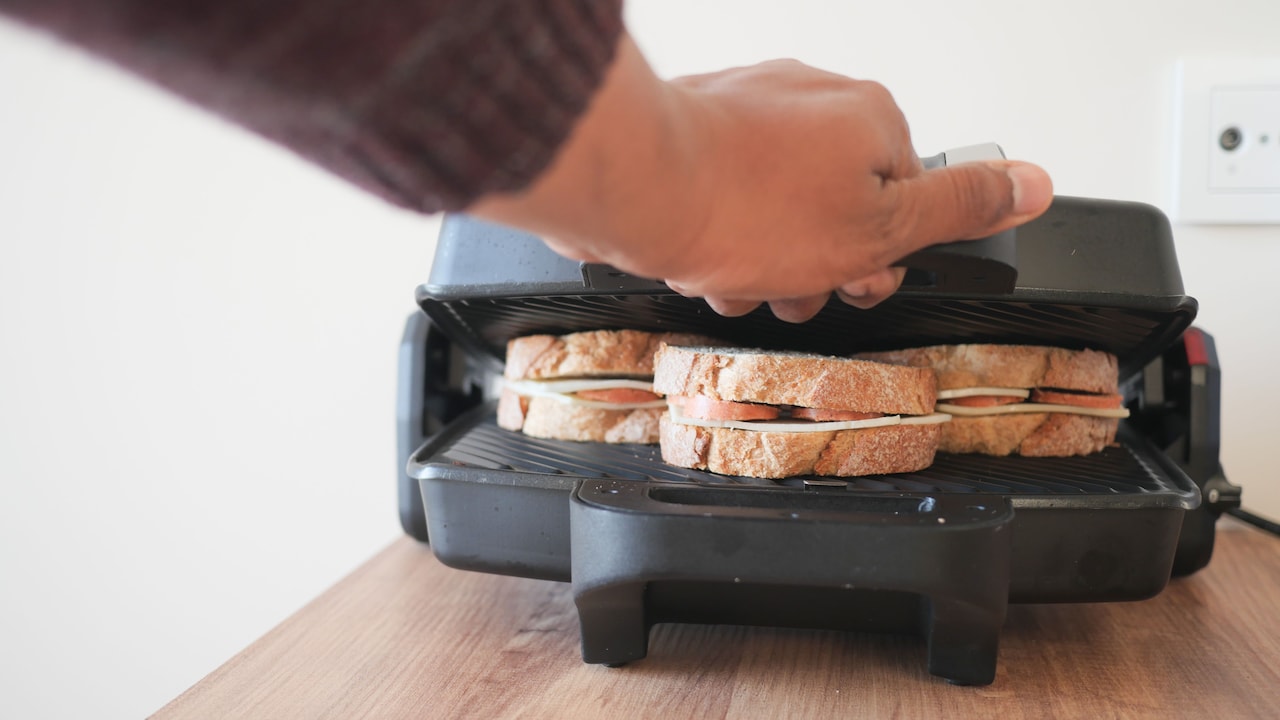
Few kitchen disappointments feel quite as unnecessary as opening a sandwich maker and finding a toastie that looks as though different parts of it spent the morning in different climates. One corner shines golden brown, another remains soft and pale, while the centre threatens to cross into burnt territory. Sandwich makers seem simple. Add bread, spread a filling, close the lid and wait. In reality, several tiny details affect how evenly heat moves through the bread. The temperature of the plates, the amount of filling, the thickness of each slice and even a few crumbs from yesterday's cheese toast can change the result. This matters even more during rushed mornings, when nobody wants to stand beside an appliance negotiating with a stubborn sandwich before work, college or the school run. A little technique goes a long way. Before blaming the machine, it helps to understand what may be happening between those hot plates.
10 Reasons Sandwich Makers Brown Bread Unevenly And How To Get More Consistent Toasting
Photo Credit: Pexels
Here are ten common reasons sandwich makers brown bread unevenly, along with simple ways to bring back that satisfying, evenly toasted crunch.
Why Your Sandwich Maker Browns Bread Unevenly And What You Can Do About It
1. The Sandwich Maker Has Not Preheated Properly
Putting bread into a cold or only partly heated sandwich maker often starts the trouble. The plates need time to reach a fairly even cooking temperature. When bread goes in too early, one section may begin warming before another part of the plate has caught up.
This often happens during busy mornings. The power switch goes on, the sandwich goes in almost immediately, and breakfast becomes a small experiment in thermal impatience. The result can be pale edges, patchy grill marks or a centre that browns faster than the rest.
Wait for the appliance's ready indicator before adding the sandwich. If the model has no indicator, allowing it to heat for a few minutes usually helps. The exact time varies between appliances, so the instruction manual remains useful even after the excitement of unboxing has disappeared.
Preheating also matters between batches. After one sandwich comes out, the plates can lose some heat. Giving them a short recovery period before adding the next one helps each batch cook more consistently rather than making the first sandwich look perfect and the third look forgotten.
2. The Bread Slices Are Different Thicknesses
Bread rarely comes out of every packet perfectly uniform, especially when it has been cut at a local bakery or sliced at home. One thick slice and one thin slice may seem harmless, but sandwich makers depend on close, even contact between the bread and the heating plates.
A thicker section gets pressed harder and often browns faster. A thinner section may barely touch the upper plate, leaving pale patches that look undercooked beside darker areas.
Choose slices with similar thickness whenever possible. Packaged sandwich bread usually gives more predictable results, although artisanal loaves work well when sliced evenly. When cutting bread at home, a serrated knife and a little patience make a surprising difference.
Very thick bread can also create another problem. Closing the lid forcefully may squash the centre while leaving the edges oddly positioned. The bread should sit comfortably inside the appliance rather than requiring the determination usually reserved for an overpacked suitcase.
Consistency matters more than exact thickness. Two medium slices generally toast better together than one thin slice paired with a doorstep-sized companion. Matching the slices improves plate contact and gives the heat a fair chance to work evenly.
3. Too Much Filling Prevents Even Plate Contact
An ambitious sandwich can be delicious, but sandwich makers have limits. Extra cheese, sliced vegetables, chutney, paneer, potato filling and another heroic layer of cheese may sound excellent until the lid refuses to close evenly.
When the centre becomes too thick, the upper plate presses mainly against the highest part of the sandwich. The edges receive less contact, so the middle browns quickly while the outer sections remain pale.
Keep fillings generous but manageable. Spread them evenly instead of building a mound in the centre. Ingredients such as grated cheese, mashed potato, finely chopped vegetables or crumbled paneer distribute more easily than large chunks.
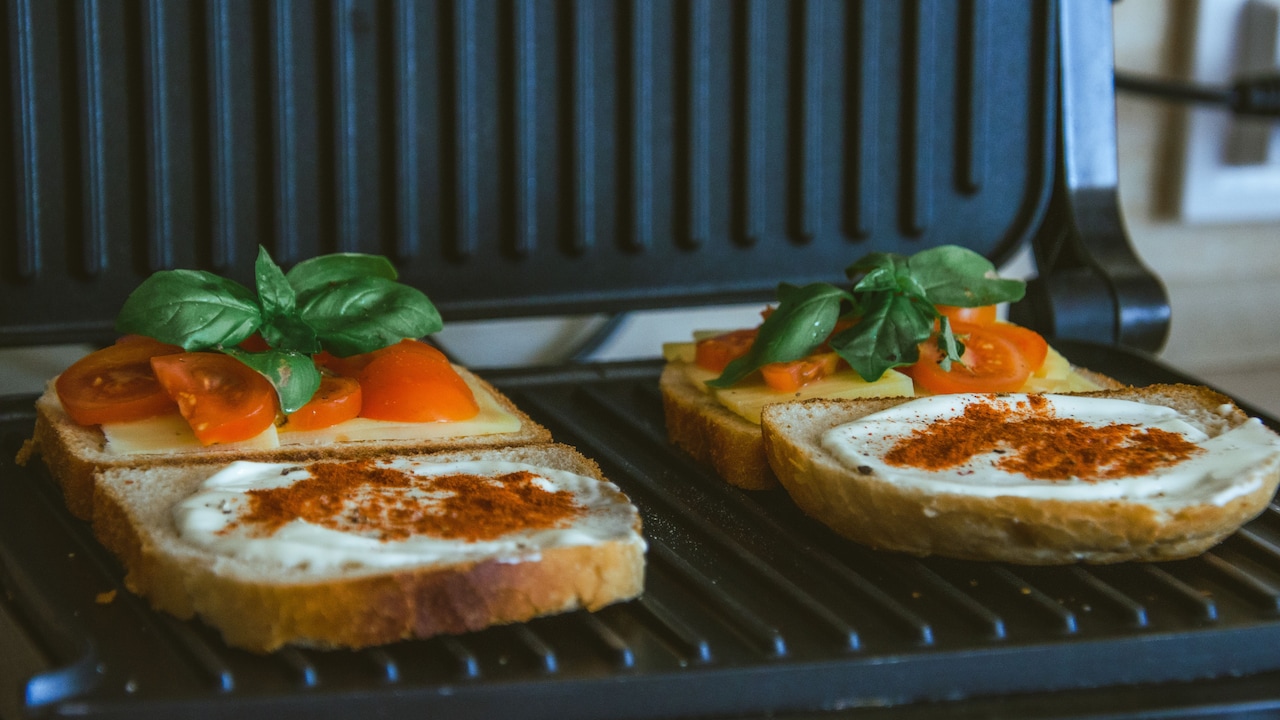
Moist fillings deserve extra attention. Tomato slices, sauces and cooked vegetables can release water while heating. That steam softens the bread and makes browning slower in some areas.
A well-filled sandwich should still allow the lid to close without force. If closing the appliance feels like a gym exercise, some filling probably needs to come out.
Besides improving browning, moderate filling reduces leakage. Melted cheese dripping onto the plates may smell wonderful for about thirty seconds, but cleaning baked-on cheese later rarely inspires the same enthusiasm.
4. Butter Or Oil Has Been Spread Unevenly
Fat plays an important role in browning. A light coating of butter, ghee or oil helps the bread develop colour and crispness when it touches the hot plate. Problems begin when one area receives plenty while another stays almost dry.
A heavily buttered corner can brown much faster than the rest of the slice. Thick lumps may even create very dark patches. Meanwhile, dry sections can remain noticeably lighter.
Spread the fat in a thin, even layer across the outer surface of the bread. Softened butter works particularly well because it reaches the edges without tearing the slice. Cold butter straight from the refrigerator tends to sit in stubborn little islands, which later become darker spots.
There is no need to drench the bread. More fat does not automatically mean better toast. Too much can make the sandwich greasy and leave residue on the plates.
For lighter sandwiches, a small amount of oil brushed evenly across the surface can work well. Whatever option is chosen, coverage matters more than quantity.
That tiny bit of attention before closing the lid often makes the finished sandwich look far more uniform, with a crisp golden surface instead of accidental camouflage.
5. The Heating Plates Have Grease And Food Residue
Sandwich makers collect evidence of previous meals. Cheese hardens near the hinges, crumbs gather in corners and oily residue slowly builds across the cooking surface. Even when the plates look reasonably clean, small patches of residue can affect how heat reaches fresh bread.
Burnt crumbs may create dark marks. Thick grease can interfere with direct contact and cause irregular browning. Sticky bits of filling may also lift parts of the bread away from the plate.
Clean the sandwich maker once it has cooled completely. Wipe the plates with a soft, damp cloth or sponge and remove crumbs from grooves carefully. Harsh scrubbers should usually be avoided, especially on non-stick surfaces, because scratches can make future cooking and cleaning more difficult.
For stubborn residue, a warm damp cloth placed over the cooled area for a short while can soften the mess before wiping.
Regular cleaning also prevents old flavours from joining new sandwiches without invitation. A cheese-and-coriander toastie does not necessarily need yesterday's sweet chocolate spread making an unexpected comeback.
Also Read: Worth The Toast? Why A Sandwich Maker Is A Smart Buy For Every Kitchen
Clean plates offer better contact, more reliable browning and a much nicer starting point for the next batch.
10 Reasons Sandwich Makers Brown Bread Unevenly And How To Get More Consistent Toasting
Photo Credit: Pexels
6. The Sandwich Is Positioned Off-Centre
A sandwich maker may look equally hot from edge to edge, but many models have small temperature variations across the plates. Placing bread too close to one side can exaggerate those differences.
An off-centre sandwich may also sit awkwardly across raised ridges, triangular sealing lines or deeper cooking pockets. One side then presses firmly against the plate while the opposite edge barely makes contact.
Place the sandwich as centrally as the design allows. Align the bread with the cooking area rather than simply dropping it onto whichever part of the plate looks convenient.
This becomes particularly important when using smaller slices in a larger sandwich maker. Small bread can slide towards a corner as the lid closes, especially when the filling is slippery.
Check the position just before bringing down the upper plate. A second spent adjusting the bread can prevent several minutes of uneven cooking.
For appliances that make two sandwiches at once, keep both portions similar in size and thickness. Loading one side with a thick stuffed toastie while leaving the other nearly empty may also influence pressure distribution.
A centred sandwich receives more balanced contact and gives the appliance the best chance to produce matching colour across the surface.
7. Frozen Or Chilled Ingredients Cool Parts Of The Bread
Temperature differences inside the sandwich can affect browning more than many people expect. Cold cheese, refrigerated paneer, chilled vegetables or frozen fillings pull heat away from nearby sections of bread.
That means the plate may be hot, but energy gets diverted towards warming the filling. The bread surrounding a particularly cold section can brown more slowly, while other areas toast normally.
Whenever practical, allow refrigerated ingredients to lose some of their chill before assembling the sandwich. There is no need to leave perishable food sitting out for long periods. Even preparing the filling first and letting it stand briefly while the sandwich maker preheats can reduce the temperature gap.
Frozen ingredients should generally be thawed or heated appropriately before going into a sandwich. A frozen potato patty buried between two slices of bread may stay cold in the middle even after the outside has turned dark.
Warm cooked fillings can provide more predictable results, particularly for potato, paneer or vegetable sandwiches.
This small adjustment also improves texture. Instead of biting through crisp bread into a centre that feels unexpectedly cold, the sandwich heats more evenly from crust to filling, which is exactly what that first hopeful bite deserves.
8. The Lid Is Being Pressed Down Too Hard
Some sandwich makers have a locking latch, while others close with their own weight. Either way, forcing the lid down can create uneven pressure across the bread.
A thick sandwich may compress heavily in the centre, pushing fillings towards the edges and making some areas thinner than others. Those compressed sections can brown quickly because they sit very close to the hot plates.
Let the appliance close naturally whenever possible. Use the latch only as intended rather than pressing the handle with extra force in the hope that breakfast will somehow finish sooner.
If the lid will not close comfortably, reduce the filling or choose slightly thinner bread.
Uneven pressure can also cause cheese, sauces and vegetables to escape. Once filling leaks onto the plates, it may burn and affect the next batch as well.
A sandwich maker works through heat and contact, not brute strength. Treating the lid gently helps maintain a consistent thickness from one side of the sandwich to the other.
The finished result often looks neater too. Instead of a flattened centre surrounded by swollen edges, the sandwich keeps a more balanced shape and develops a more uniform toasted surface.
9. The Non-Stick Coating Or Heating Element Has Worn Unevenly
Sometimes technique is not the main problem. An older sandwich maker may develop worn coating, damaged plates or uneven heating after years of regular use.
A common clue appears when the same section of bread repeatedly comes out pale or burnt regardless of bread type, filling or positioning. If the top-right corner misbehaves every single morning, the sandwich probably deserves acquittal.
Check the plates for visible damage, peeling coating or deep scratches. Avoid using an appliance with badly deteriorated cooking surfaces, particularly when the manufacturer advises replacement.
Heating problems may require professional inspection. Electrical appliances should not be dismantled casually at home unless the user has the proper technical knowledge. Replacement may make more sense for a basic ageing model, while a higher-priced appliance may justify authorised servicing.
Before spending money, test the sandwich maker with plain slices of similar bread and no filling. Lightly grease them, place them centrally and compare the browning pattern.
If one area repeatedly cooks differently, the appliance itself may be responsible. A sandwich maker costing ₹1,500 should still toast bread evenly enough to make breakfast enjoyable rather than turn every slice into detective work.
10. The Sandwich Is Simply Cooking For Too Long
It sounds obvious, yet timing causes plenty of uneven toast. Sandwich makers continue transferring heat as long as the bread remains between the plates. Areas that naturally run slightly hotter become progressively darker with every extra minute.
Waiting for the palest corner to match the darkest one can therefore backfire. By the time that slow section turns golden, the already-browned centre may be edging towards burnt.
Check the sandwich slightly earlier than usual, particularly when trying a new bread, filling or appliance. Browning can change quickly during the final stage.
There is no universal perfect cooking time because bread moisture, thickness and sandwich-maker wattage vary. One batch may need only a few minutes, while a heavily filled sandwich needs longer.
Once a reliable timing pattern emerges, remember it for similar sandwiches. A kitchen timer or phone alarm can help during busy mornings when the sandwich maker is competing with tea, lunch boxes and half a dozen other tasks for attention.
The goal is not maximum darkness. It is an evenly crisp surface with a warm centre. Stopping at the right moment often solves more browning problems than adding another minute ever will.
10 Reasons Sandwich Makers Brown Bread Unevenly And How To Get More Consistent Toasting
Photo Credit: Pexels
Products Related To This Article
1. iBELL Sm3010M 3-In-1 Sandwich Maker Big Size
2. MILTON Express 800 Watt Grill Sandwich Maker
3. Prestige PGMFB 800 Watt Grill Sandwich Toaster with Fixed Grill Plates
4. Borosil Grill Sandwich Maker
5. KENT Sandwich Grill
6. Philips HD3010/80 IN SANDWICH MAKER- GRILL XL size
7. Lifelong LLSM120G Sandwich Griller
Unevenly browned bread does not always mean a sandwich maker has reached the end of its life. More often, the cause is something surprisingly ordinary: a cold plate, mismatched bread slices, excessive filling, uneven butter or crumbs hiding in the grooves.
The best results come from giving heat, pressure and contact a little more attention. Preheat the appliance properly, keep slices similar, spread fillings evenly and avoid forcing the lid shut. Clean cooking plates regularly and watch the timing instead of relying entirely on habit.
If the same pale or burnt patch keeps appearing after all those adjustments, the appliance may have an uneven heating element or worn cooking surface that needs attention.
A sandwich maker should make breakfast easier, not turn toast into a daily guessing game. With a handful of simple changes, those patchy slices can become crisp, evenly golden sandwiches that look every bit as satisfying as they taste.
(Disclaimer: This article may include references to or features of products and services made available through affiliate marketing campaigns. NDTV Convergence Limited (“NDTV”) strives to maintain editorial independence while participating in such campaigns. NDTV does not assume responsibility for the performance or claims of any featured products or services.)